So far we have been creating apps using Python code. This works great in many cases, but as your applications get larger or interfaces more complicated, it can get a bit cumbersome to define all widgets programmatically. The good news is that Qt comes with a graphical editor — Qt Designer — which contains a drag-and-drop UI editor. Using Qt Designer you can define your UIs visually and then simply hook up the application logic later.
In this tutorial we'll cover the basics of creating UIs with Qt Designer. The principles, layouts and widgets are identical, so you can apply everything you've already learnt. You'll also need your knowledge of the Python API to hook up your application logic later.
This tutorial requires Qt Creator to be installed. You can download it from the Qt website. Go to the download page and get the appropriate Qt package for your platform. During the installation, you can opt to install only Qt Creator.
Open up Qt Creator and you will be presented with the main window. The designer is available via the tab on the left hand side. However, to activate this you first need to start creating a .ui file.
 The Qt Creator interface, with the Design section shown on the left.
To create a .ui file go to File -> New File or Project... In the window that appears select Qt under Files and Classes on the left, then select Qt Designer Form on the right. You'll notice the icon has "ui" on it, showing the type of file you're creating.
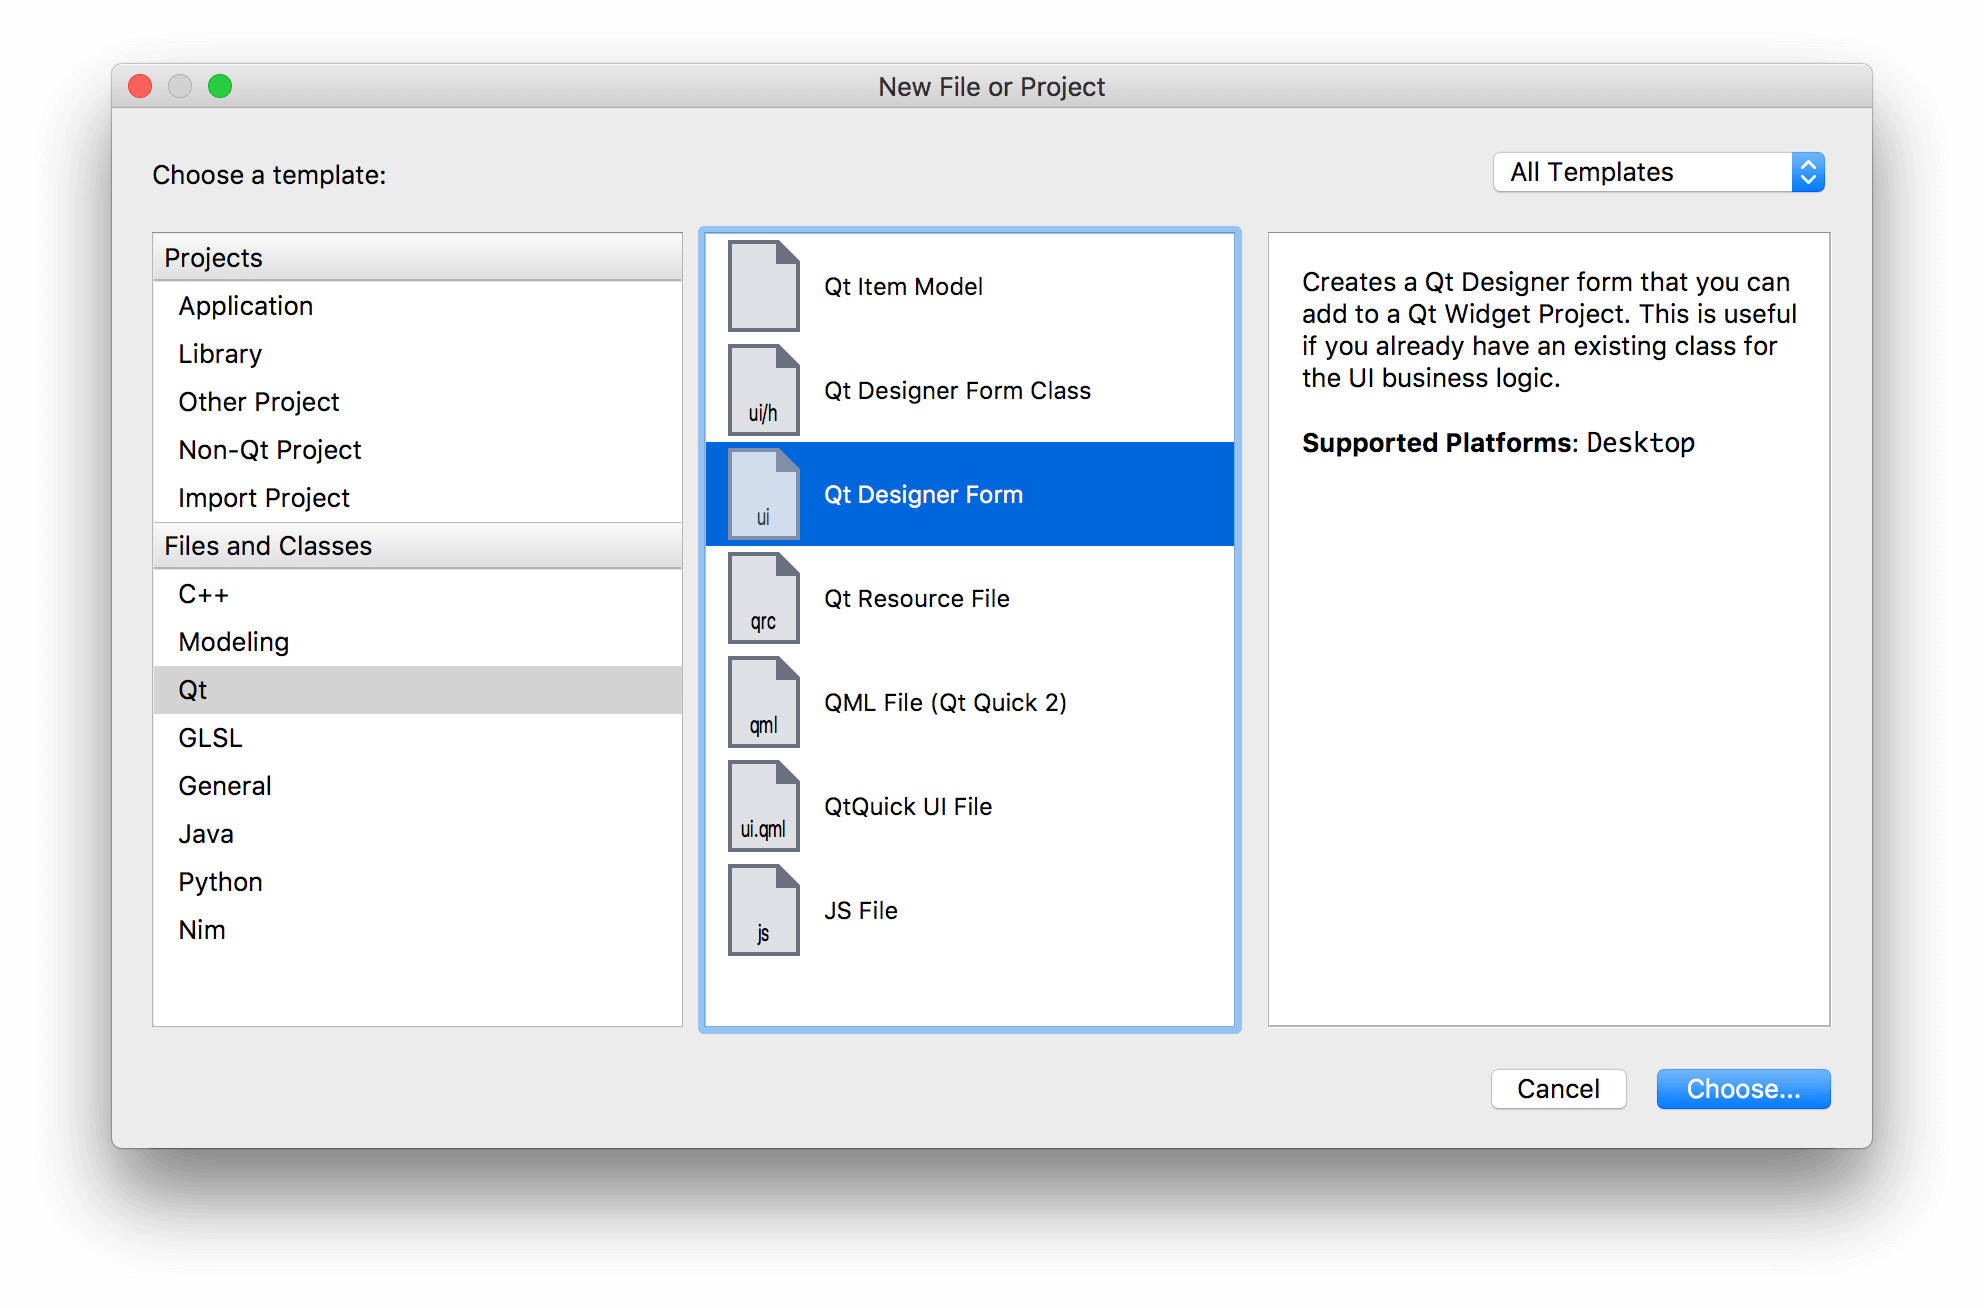 Create a new Qt Designer .ui file in Qt Creator.
In the next step you'll be asked what type of widget you want to create. If you are starting an application then Main Window is the right choice. However, you can also create .ui files for dialog boxes, forms and custom compound widgets.
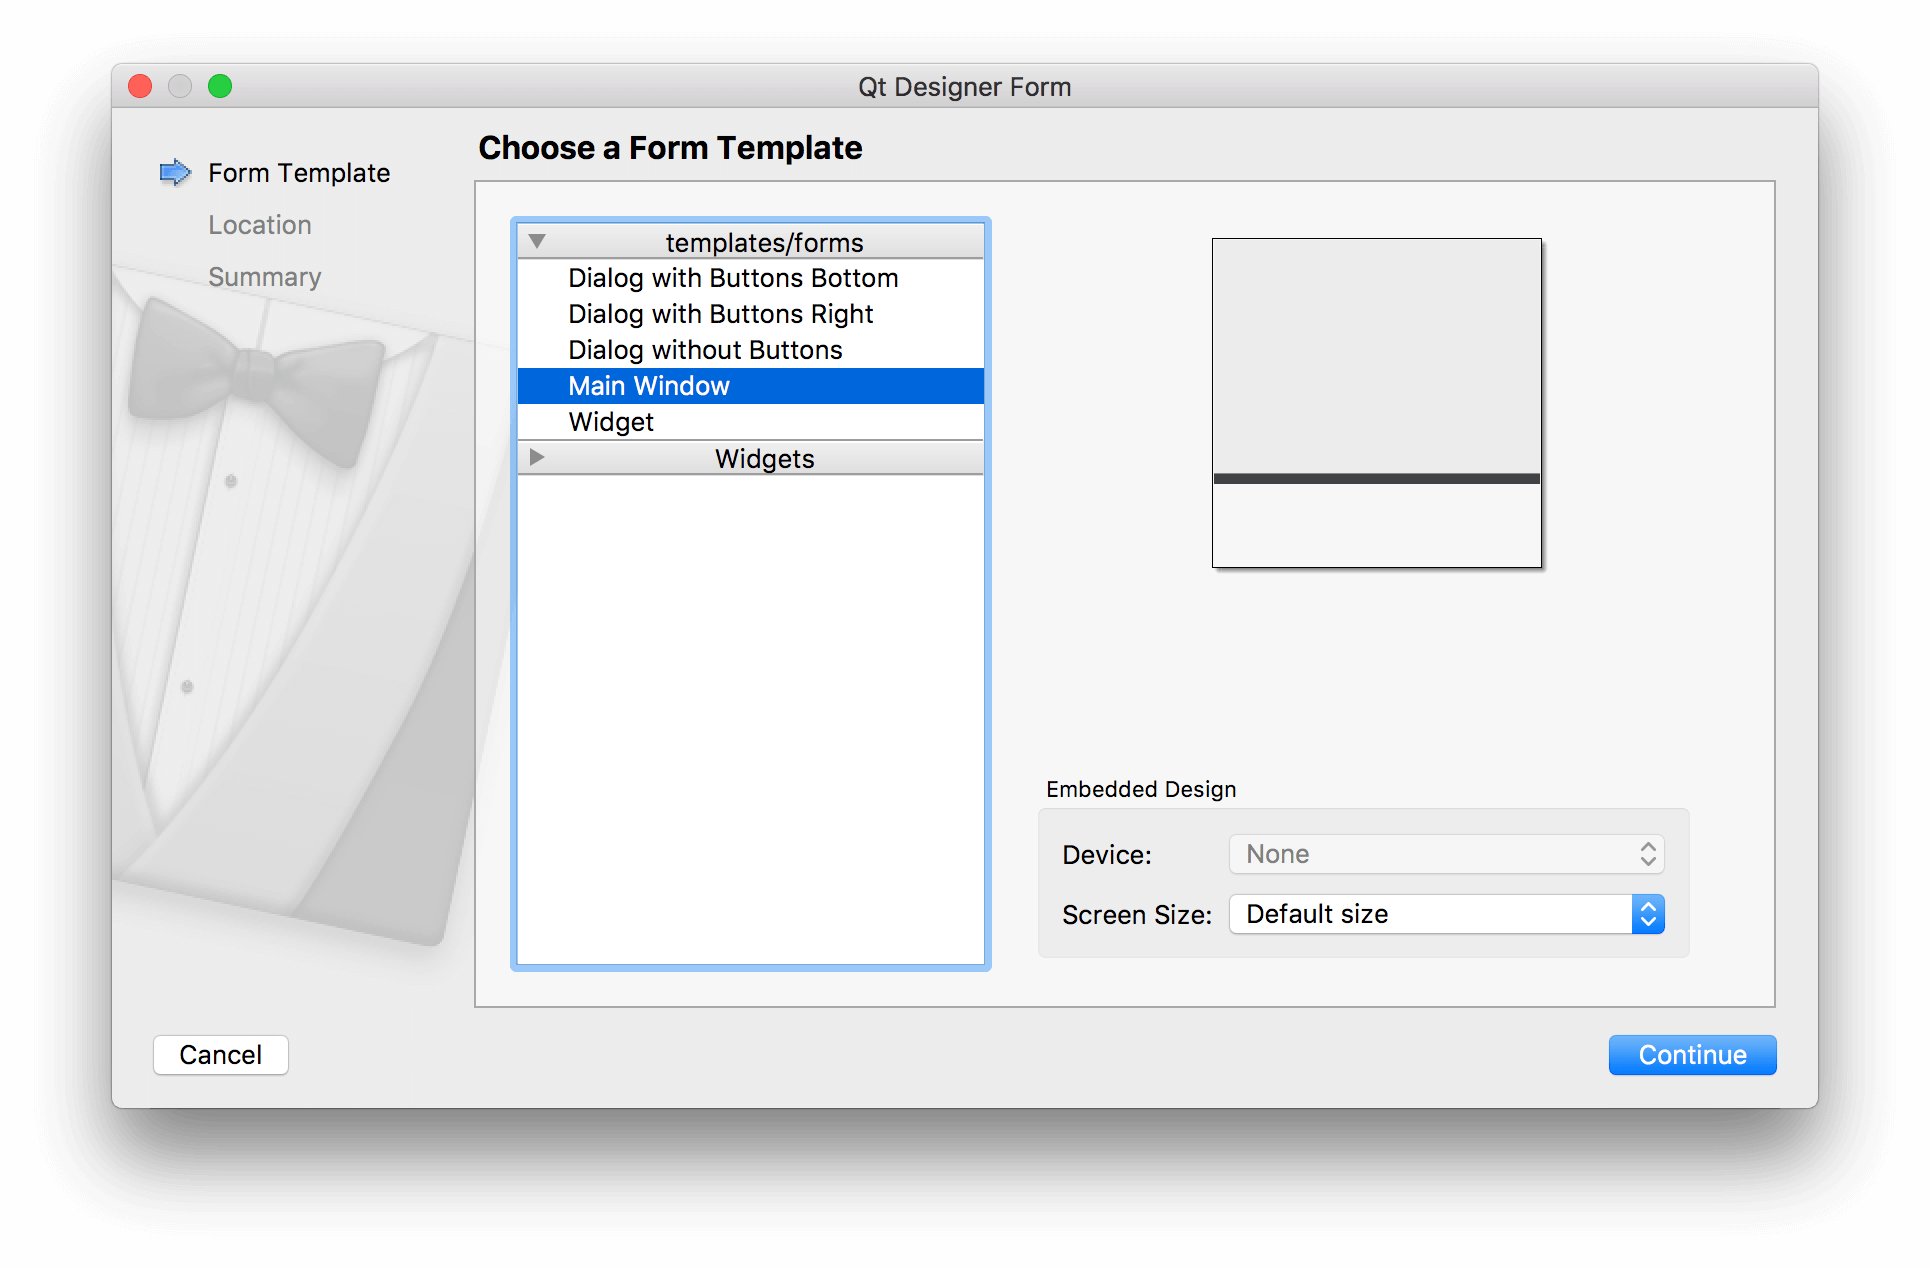 Select the type of widget to create in Qt Designer — for most applications choose Main Window.
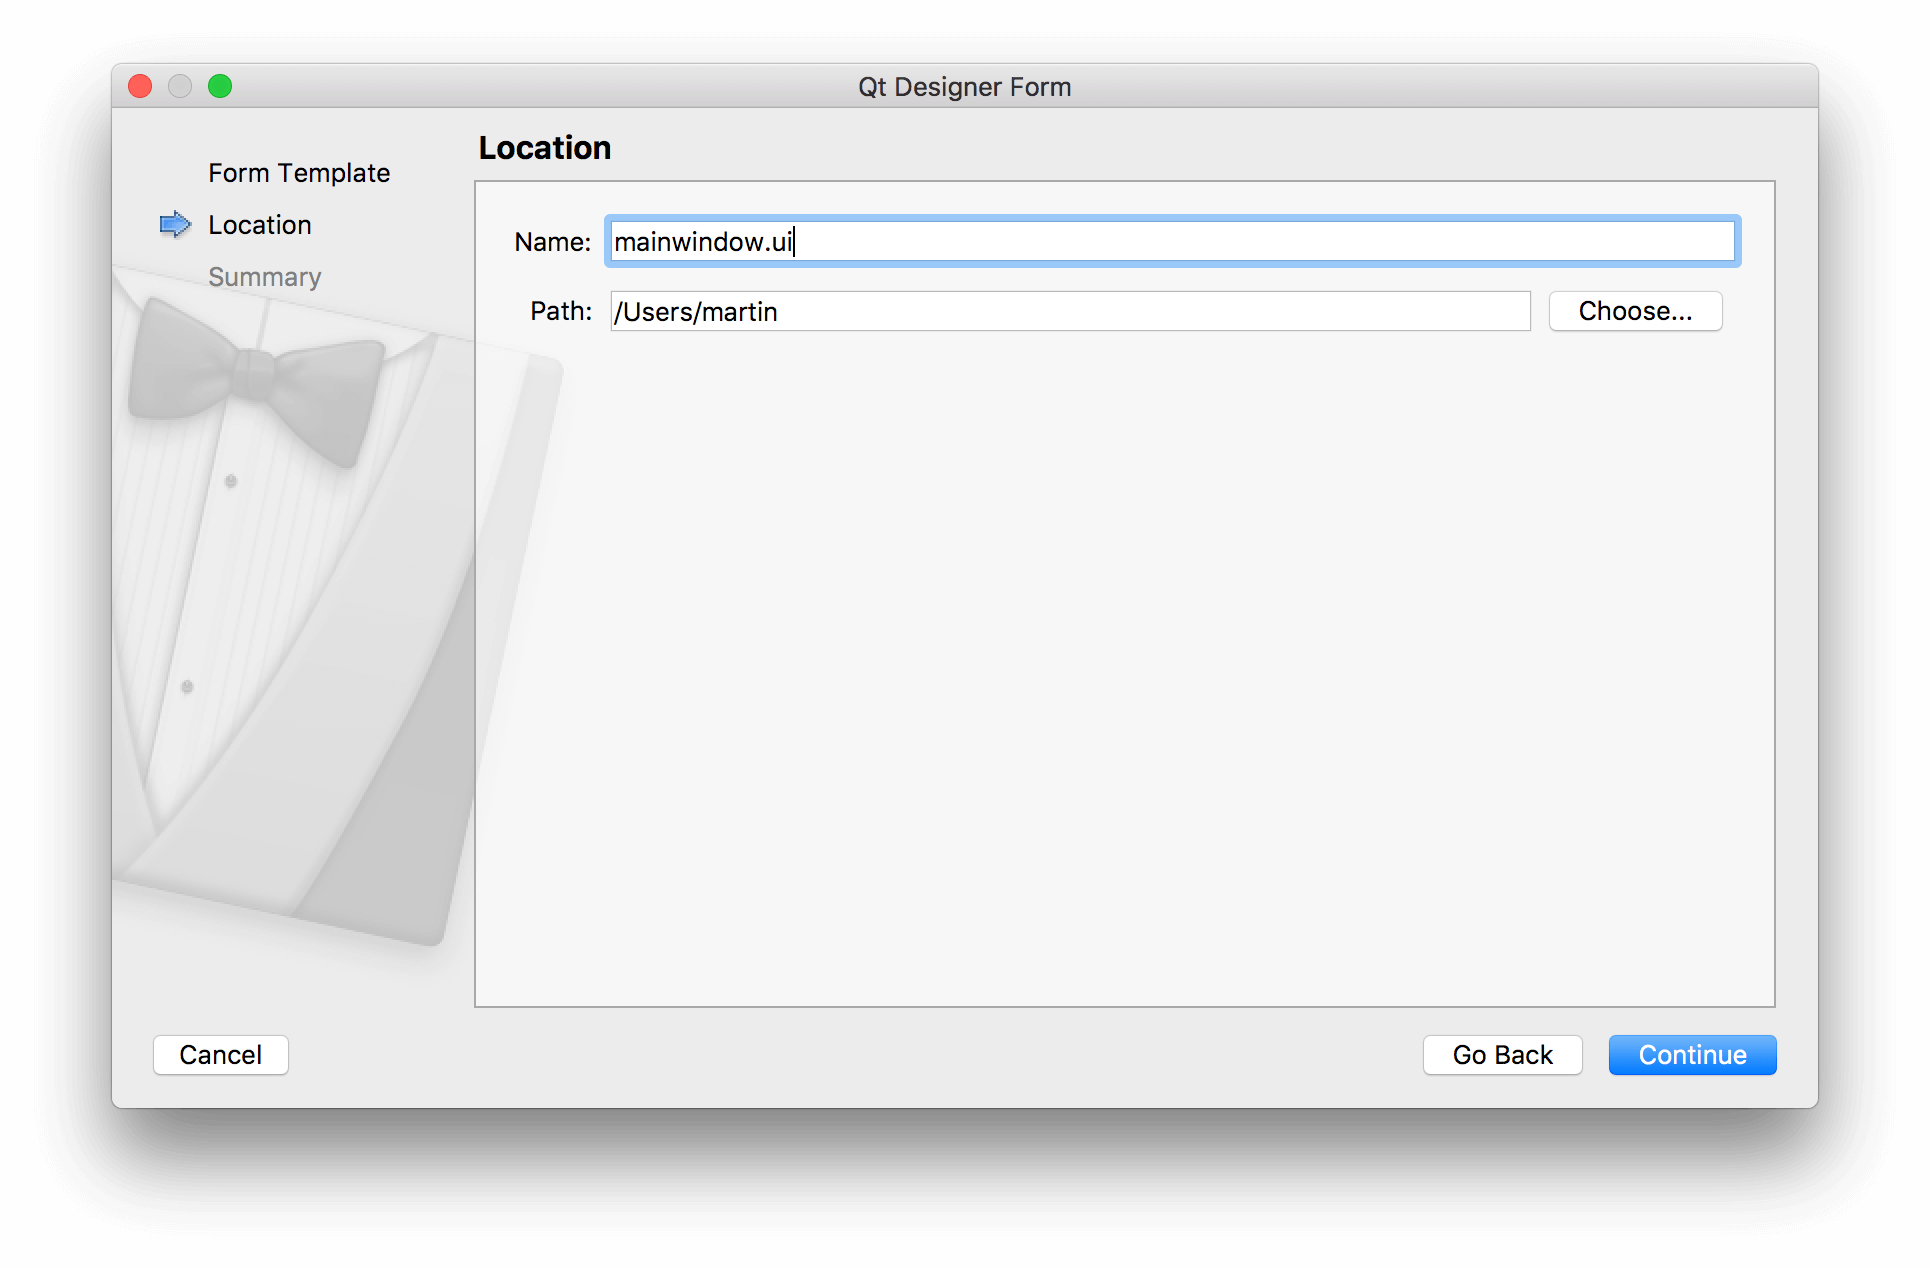
Next choose a filename and save folder for your file. Save your .ui file with the same name as the class you'll be creating, just to make make subsequent commands simpler.
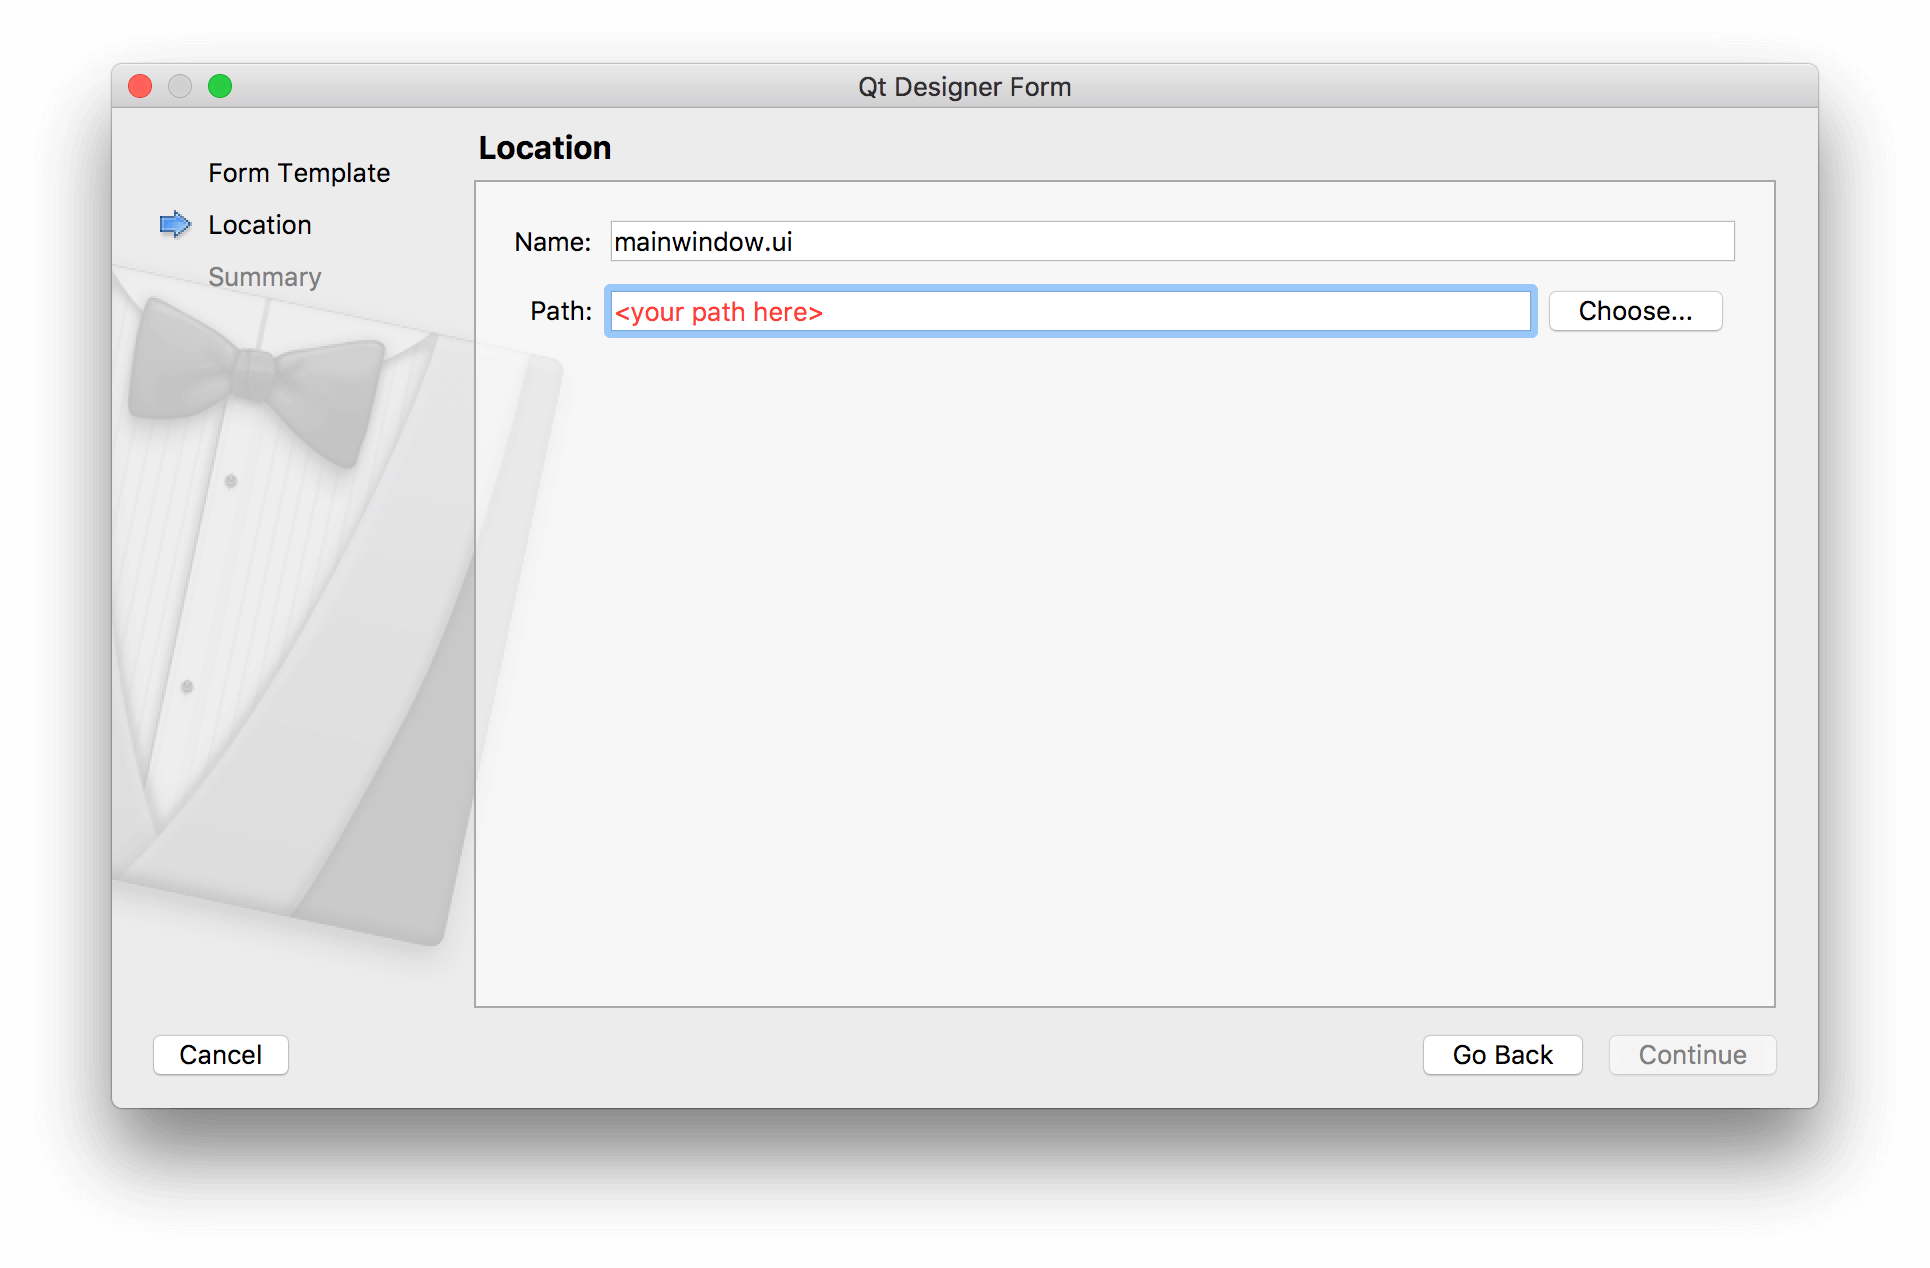 Choose save name and folder for your Qt Designer .ui file.
Finally, you can choose to add the file to your version control system if you're using one. Feel free to skip this step — it doesn't affect your UI.
 Optionally add the file to your version control, e.g. Git.
Laying Out Your Main Window in Qt Designer
You'll be presented with your newly created main window in the UI designer. There isn't much to see to begin with, just a grey working area representing the window, together with the beginnings of a window menu bar.
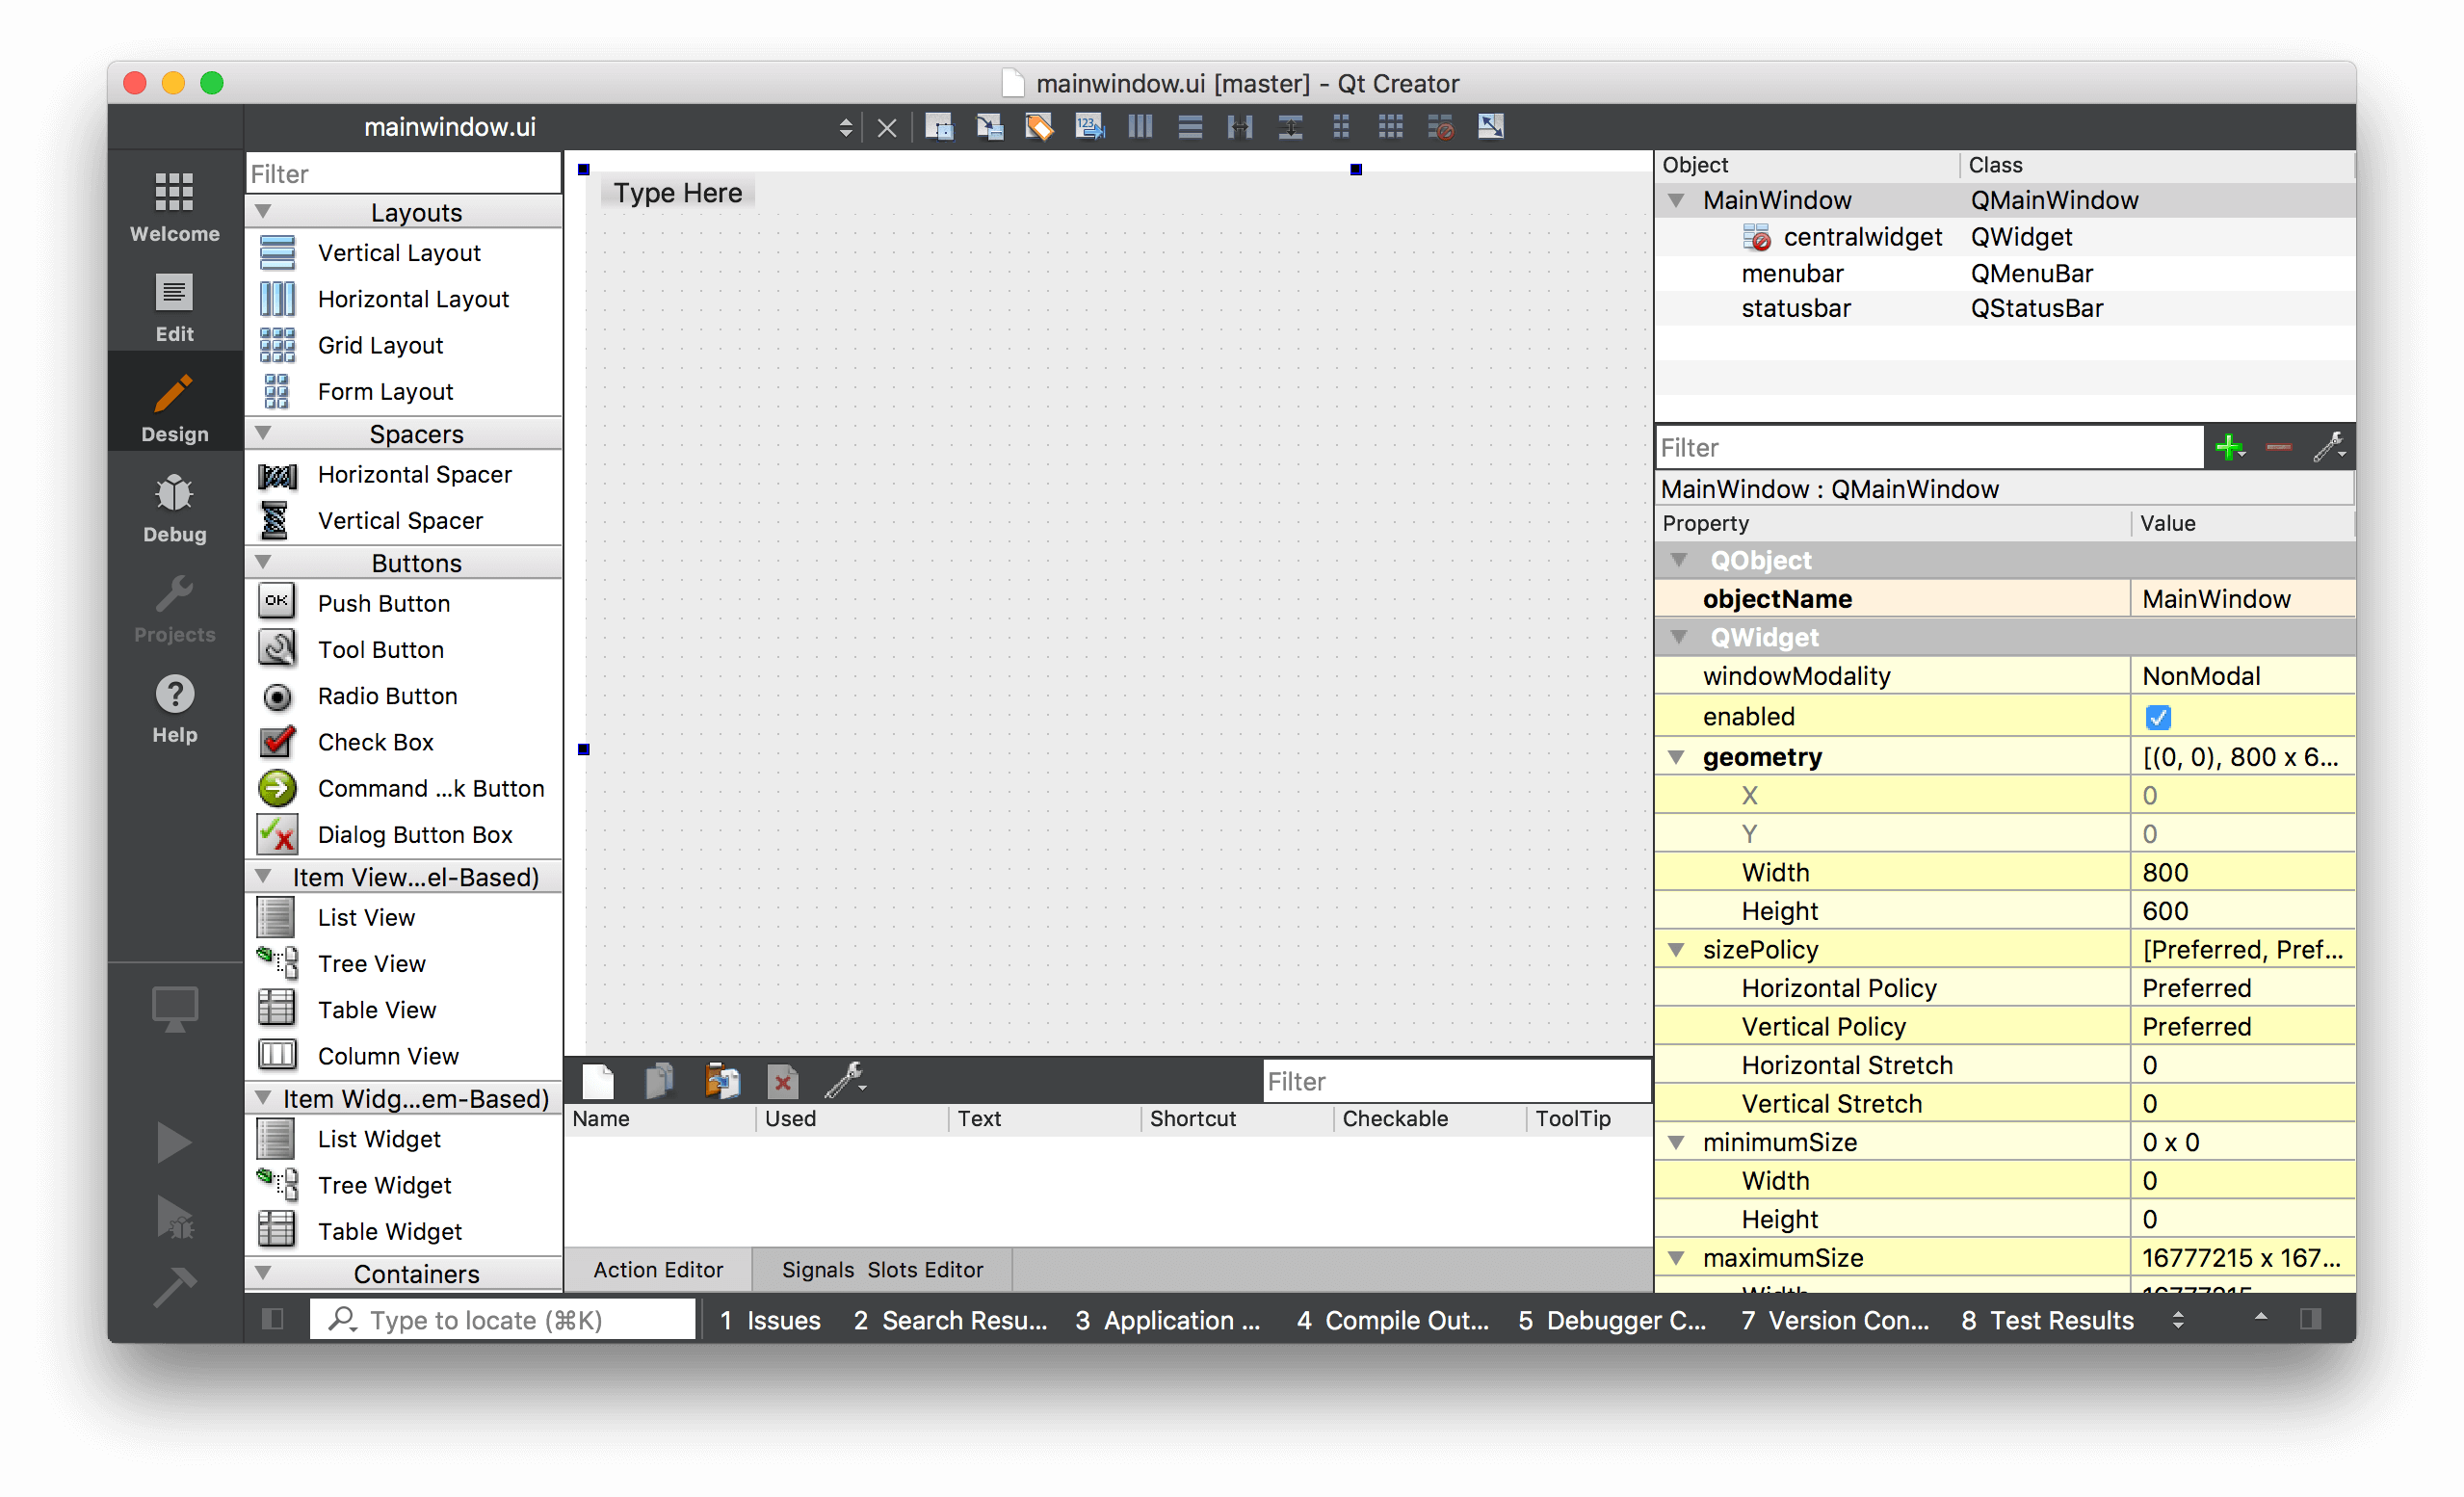 The initial view of the created main window in Qt Designer.
You can resize the window by clicking the window and dragging the blue handles on each corner.
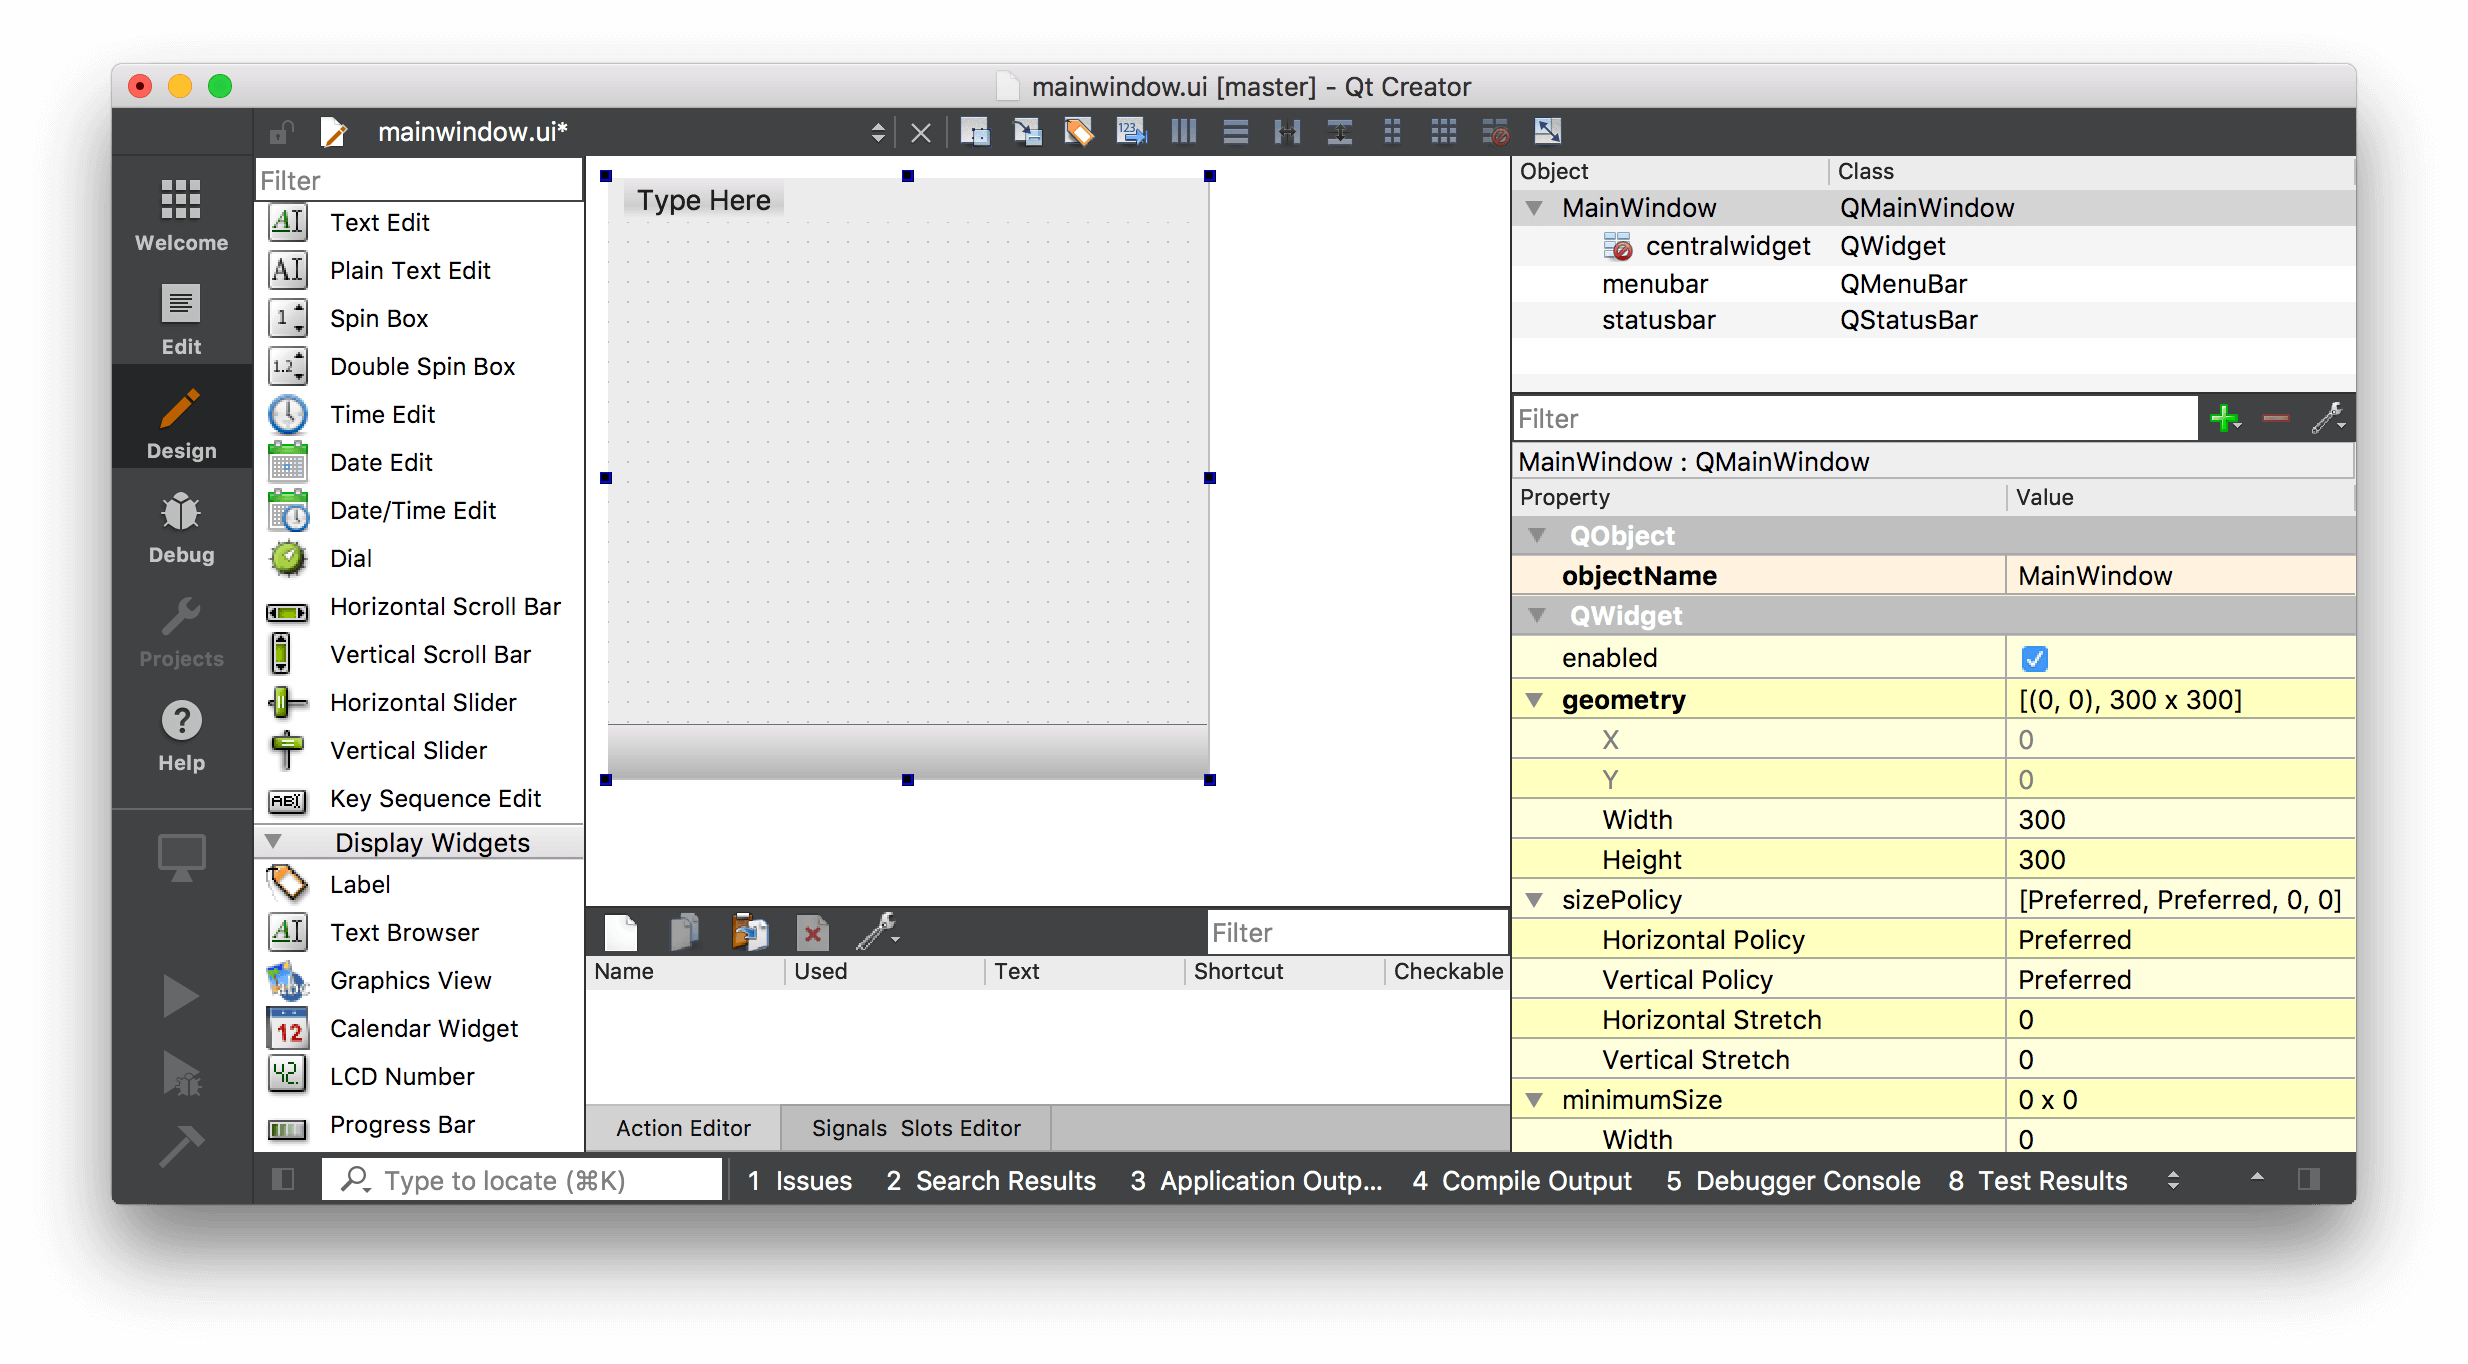 Resizing the main window using drag handles in Qt Designer.
The first step in building an application is to add some widgets to your window. In our first applications we learnt that to set the central widget for a QMainWindow we need to use .setCentralWidget(). We also saw that to add multiple widgets with a layout, we need an intermediary QWidget to apply the layout to, rather than adding the layout to the window directly.
Qt Creator takes care of this for you automatically, although it's not particularly obvious about it.
To add multiple widgets to the main window with a layout, first drag your widgets onto the QMainWindow. Here we're dragging 3 labels. It doesn't matter where you drop them.
 Dragging widgets onto the main window in Qt Designer.
We've created 2 widgets by dragging them onto the window, made them children of that window. We can now apply a layout.
Find the QMainWindow in the right hand panel (it should be right at the top). Underneath you see centralwidget representing the window's central widget. The icon for the central widget shows the current layout applied. Initially it has a red circle-cross through it, showing that there is no layout active.
Right click on the QMainWindow object, and find 'Layout' in the resulting dropdown.
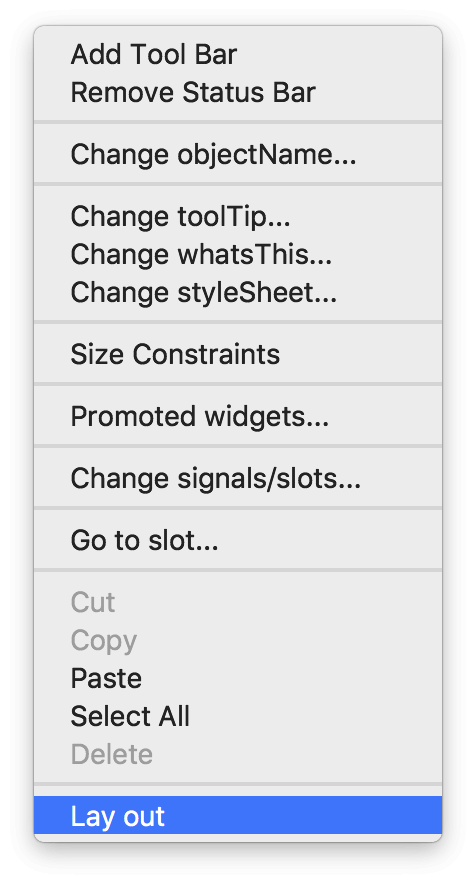 Right click on the QMainWindow in Qt Designer and choose a layout option.
Next you'll see a list of layouts which you can apply to the window. Select Lay Out Horizontally and the layout will be applied to the widget.
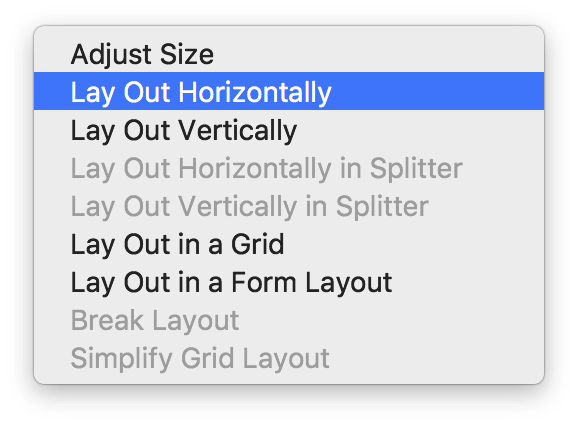 Select a layout to apply to the main window in Qt Designer.
The selected layout is applied to the centralwidget of the QMainWindow and the widgets are added to the layout, being laid out depending on the selected layout. Note that in Qt Creator you can actually drag and re-order the widgets within the layout, or select a different layout, as you like. This makes it especially nice for prototyping and trying out things.
 Horizontal layout applied to widgets on the main window in Qt Designer.
Using Your Generated .ui File in Python
We've created a very simple UI in Qt Designer. The next step is to get this into Python and use it to construct a working application.
First save your .ui file — by default it will save at the location you chose while creating it, although you can choose another location if you like.
The .ui file is in XML format. To use our UI from Python we have two alternative methods available —
- Load it into a class using the
.loadUI()method - Convert it to Python using the
pyuic6tool
These two approaches are covered below. Personally I prefer to convert the UI to a Python file to keep things similar from a programming & packaging point of view.
Loading the .ui File Directly with uic.loadUi()
To load .ui files we can use the uic module included with PyQt6, specifically the uic.loadUI() method. This takes the filename of a UI file and loads it, creating a fully-functional PyQt6 object.
import sys
from PyQt6 import QtWidgets, uic

app = QtWidgets.QApplication(sys.argv)

window = uic.loadUi("mainwindow.ui")
window.show()
app.exec()
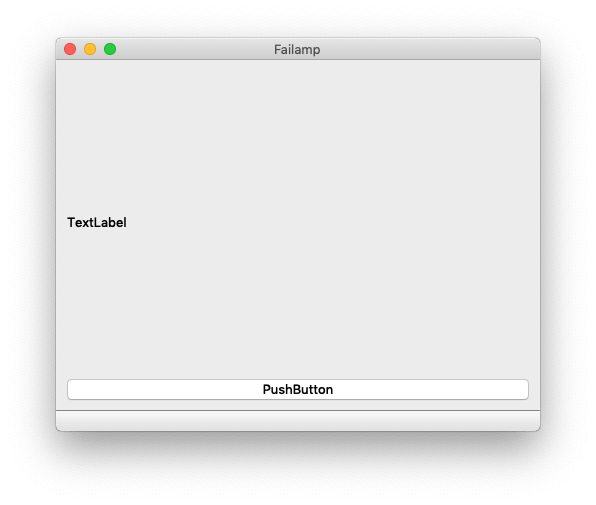 A simple PyQt6 UI designed in Qt Designer and loaded with uic.loadUi
As the uid.loadUI() method turns an instance object you cannot attach custom __init__() code. You can however handle this through a custom setup function
To load a UI from the __init__ block of an existing widget (e.g. a QMainWindow) you can use uic.loadUI(filename, self) for PyQt6.
import sys
from PyQt6 import QtCore, QtGui, QtWidgets
from PyQt6 import uic


class MainWindow(QtWidgets.QMainWindow):

    def __init__(self, *args, **kwargs):
        super().__init__(*args, **kwargs)
        uic.loadUi("mainwindow.ui", self)


app = QtWidgets.QApplication(sys.argv)
window = MainWindow()
window.show()
app.exec()
Converting Your .ui File to Python with pyuic6
To generate a Python output file run pyuic6 from the command line, passing the .ui file and the target file for output, with a -o parameter. The following will generate a Python file named MainWindow.py which contains our created UI.
pyuic6 mainwindow.ui -o MainWindow.py
If you're using PyQt5 the tool is named `pyuic5`, but is otherwise completely identical.
You can open the resulting MainWindow.py file in an editor to take a look, although you should not edit this file. The power of using Qt Creator is being able to edit, tweak and update your application while you develop. Any changes made to this file will be lost when you update it. However, you can override and tweak anything you like when you import and use the file in your applications.
Importing the resulting Python file works as for any other. You can import your class as follows. The pyuic6 tool appends Ui_ to the name of the object defined in Qt Creator, and it is this object you want to import.
from MainWindow import Ui_MainWindow
To create the main window in your application, create a class as normal but subclassing from both QMainWindow and your imported Ui_MainWindow class. Finally, call self.setupUi(self) from within the __init__ to trigger the setup of the interface.
import sys
from PyQt6 import QtWidgets, uic

from MainWindow import Ui_MainWindow


class MainWindow(QtWidgets.QMainWindow, Ui_MainWindow):
    def __init__(self, *args, obj=None, **kwargs):
        super().__init__(*args, **kwargs)
        self.setupUi(self)


app = QtWidgets.QApplication(sys.argv)

window = MainWindow()
window.show()
app.exec()
This produces exactly the same result as before.
A simple PyQt6 GUI application built using Qt Designer and pyuic6
That's it. Your window is now fully set up. Since the use of a .ui file abstracts out the UI-specific code, you can use this same pattern to load any interface you design.
Adding Application Logic to Your PyQt6 GUI
You can interact with widgets created through Qt Designer just as you would those created with code. To make things simpler uic adds all child widgets to the window object by their id name as specified in Qt Creator. We'll cover how to work with these in the next part.
PyQt/PySide 1:1 Coaching with Martin Fitzpatrick
Save yourself time and frustration. Get one on one help with your Python GUI projects. Working together with you I'll identify issues and suggest fixes, from bugs and usability to architecture and maintainability.
