The first step towards creating custom widgets in PyQt6 is understanding bitmap (pixel-based) graphic operations. All standard widgets draw themselves as bitmaps on a rectangular "canvas" that forms the shape of the widget. Once you understand how this works you can draw any widget you like!
A bitmap is a rectangular grids of pixels, where each pixel is stored individually as a number of bits. Contrast with vector graphics, where the image is stored as a series of drawing instructions which are repeated to form the image.
In this tutorial we'll take a look at QPainter — Qt's API for performing bitmap graphic operations and the basis for drawing your own widgets. We'll go through some basic drawing operations and finally put it all together to create our own little Paint app.

QPainter
Bitmap drawing operations in Qt are handled through the QPainter class. This is a generic interface which can be used to draw on various surfaces including, for example, QPixmap. To make this easy to demonstrate we'll be using the following stub application which handles creating our container (a QLabel), creating a pixmap canvas, displaying that in the container and adding the container to the main window.
import sys
from PyQt6 import QtCore, QtGui, QtWidgets, uic
from PyQt6.QtCore import Qt


class MainWindow(QtWidgets.QMainWindow):
    def __init__(self):
        super().__init__()

        self.label = QtWidgets.QLabel()
        canvas = QtGui.QPixmap(400, 300)
        canvas.fill(Qt.GlobalColor.white)
        self.label.setPixmap(canvas)
        self.setCentralWidget(self.label)
        self.draw_something()

    def draw_something(self):
        canvas = self.label.pixmap()
        painter = QtGui.QPainter(canvas)
        painter.drawLine(10, 10, 300, 200)
        painter.end()
        self.label.setPixmap(canvas)


app = QtWidgets.QApplication(sys.argv)
window = MainWindow()
window.show()
app.exec()
Why do we use QLabel to draw on? The QLabel widget can also be used to show images, and it's the simplest widget available for displaying a QPixmap.
Save this to a file and run it and you should see the following — a single black line inside the window frame —
PyQt/PySide 1:1 Coaching with Martin Fitzpatrick — Save yourself time and frustration. Get one on one help with your Python GUI projects. Working together with you I'll identify issues and suggest fixes, from bugs and usability to architecture and maintainability.
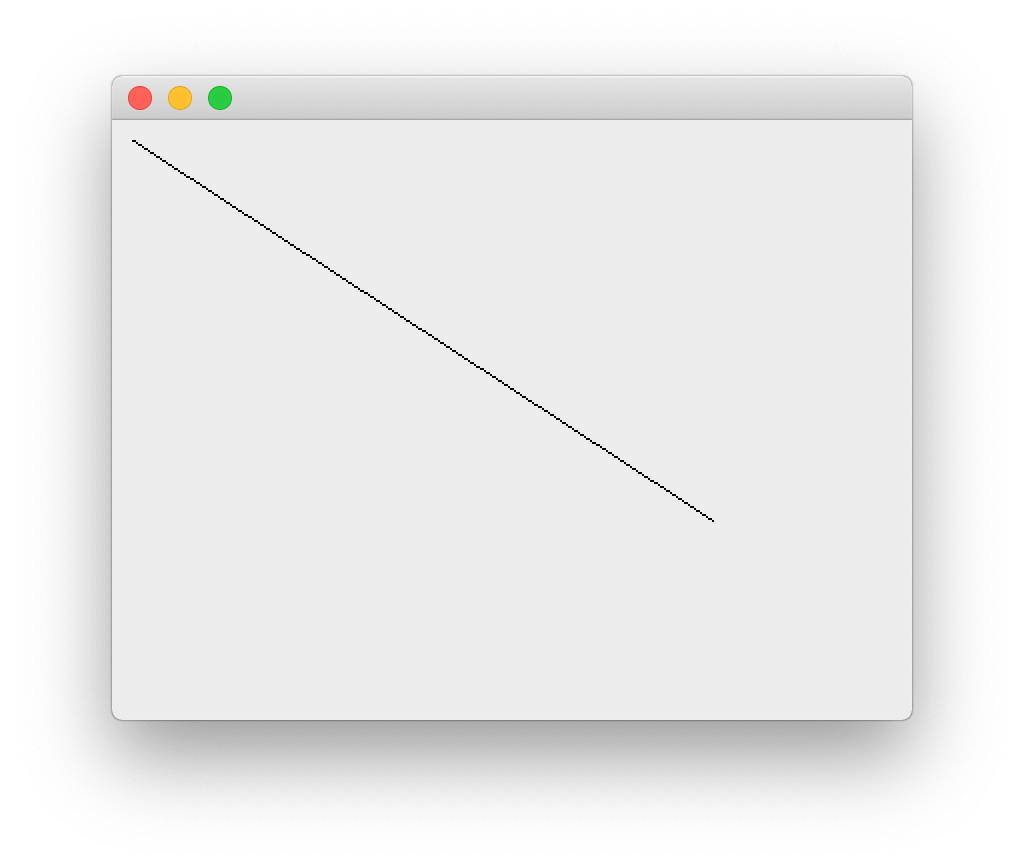 A single black line on the canvas.
All the drawing occurs within the draw_something method — we create a QPainter instance, passing in the canvas (self.label.pixmap()) and then issue a command to draw a line. Finally we call .end() to close the painter and apply the changes.
Drawing primitives
QPainter provides a huge number of methods for drawing shapes and lines on a bitmap surface (in 5.12 there are 192 QPainter specific non-event methods). The good news is that most of these are overloaded methods which are simply different ways of calling the same base methods.
For example, there are 5 different drawLine methods, all of which draw the same line, but differ in how the coordinates of what to draw are defined.
| Method | Description |
|---|---|
drawLine(line) |
Draw a QLine instance |
drawLine(line) |
Draw a QLineF instance |
drawLine(x1, y1, x2, y2) |
Draw a line between x1, y2 and x2, y2 (int) |
drawLine(p1, p2) |
Draw a line between p1 and p2 (both QPoint) |
drawLine(p1, p2) |
Draw a line between p1 and p2 (both QPointF) |
If you're wondering what the difference is between a QLine and a QLineF , the latter has its coordinates specified as float. This is convenient if you have float positions as the result of other calculations, but otherwise not so much.
Ignoring the F-variants, we have 3 unique ways to draw a line — with a line object, with two sets of coordinates (x1, y1), (x2, y2) or with two QPoint objects. When you discover that a QLine itself is defined as QLine(const QPoint & p1, const QPoint & p2)orQLine(int x1, int y1, int x2, int y2)you see that they are all in fact, exactly the same thing. The different call signatures are simply there for convenience.
Given the x1, y1, x2, y2 coordinates, the two QPoint objects would be defined as QPoint(x1, y1) and QPoint(x2, y2).
Leaving out the duplicates we have the following draw operations —drawArc , drawChord, drawConvexPolygon, drawEllipse,drawLine, drawPath, drawPie, drawPoint, drawPolygon, drawPolyline, drawRect, drawRects and drawRoundedRect. To avoid get overwhelmed we'll focus first on the primitive shapes and lines first and return to the more complicated operations once we have the basics down.
For each example, replace the draw_something method in your stub application and re-run it to see the output.
drawPoint
This draws a point, or pixel at a given point on the canvas. Each call to drawPoint draws one pixel. Replace your draw_something code with the following.
def draw_something(self):
    canvas = self.label.pixmap()
    painter = QtGui.QPainter(canvas)
    painter.drawPoint(200, 150)
    painter.end()
    self.label.setPixmap(canvas)
If you re-run the file you will see a window, but this time there is a single dot, in black in the middle of it. You'll probably need to move the window around to spot it.
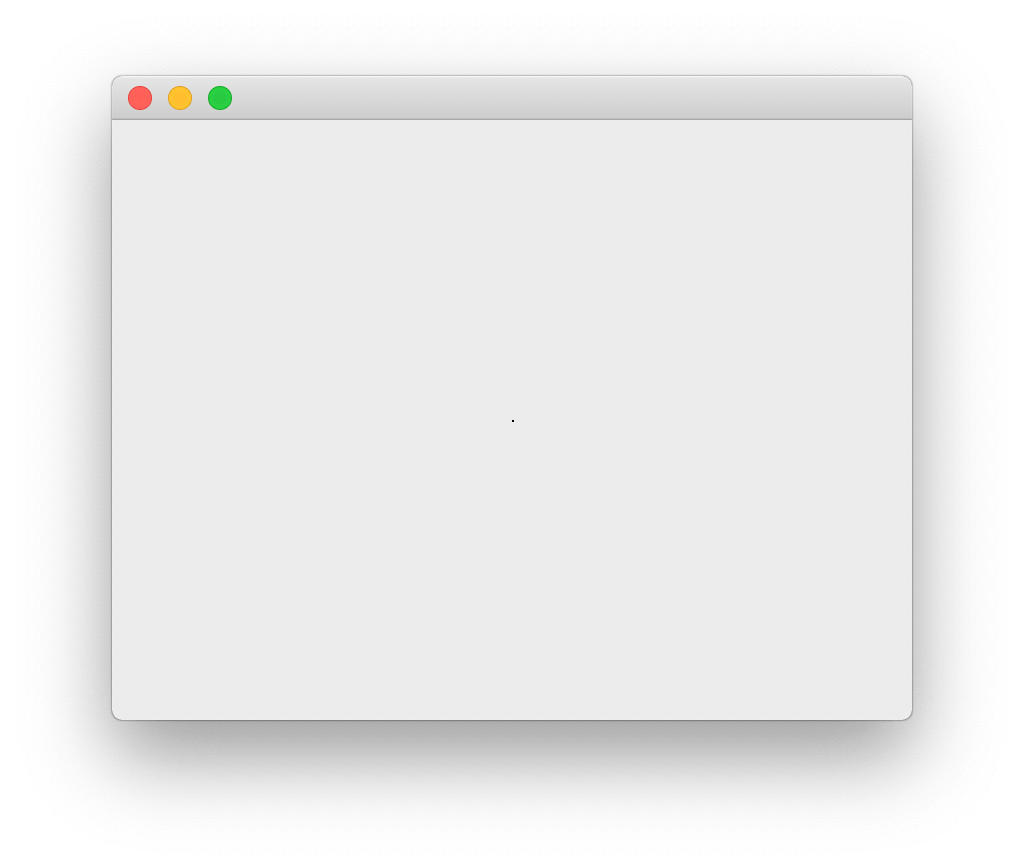 Drawing a single point (pixel) with QPainter
That really isn't much to look at. To make things more interesting we can change the color and size of the point we're drawing. In PyQt the color and thickness of lines is defined using the active pen on the QPainter. You can set this by creating a QPen instance and applying it.
    def draw_something(self):
        canvas = self.label.pixmap()
        painter = QtGui.QPainter(canvas)
        pen = QtGui.QPen()
        pen.setWidth(40)
        pen.setColor(QtGui.QColor('red'))
        painter.setPen(pen)
        painter.drawPoint(200, 150)
        painter.end()
        self.label.setPixmap(canvas)
This will give the following mildly more interesting result..
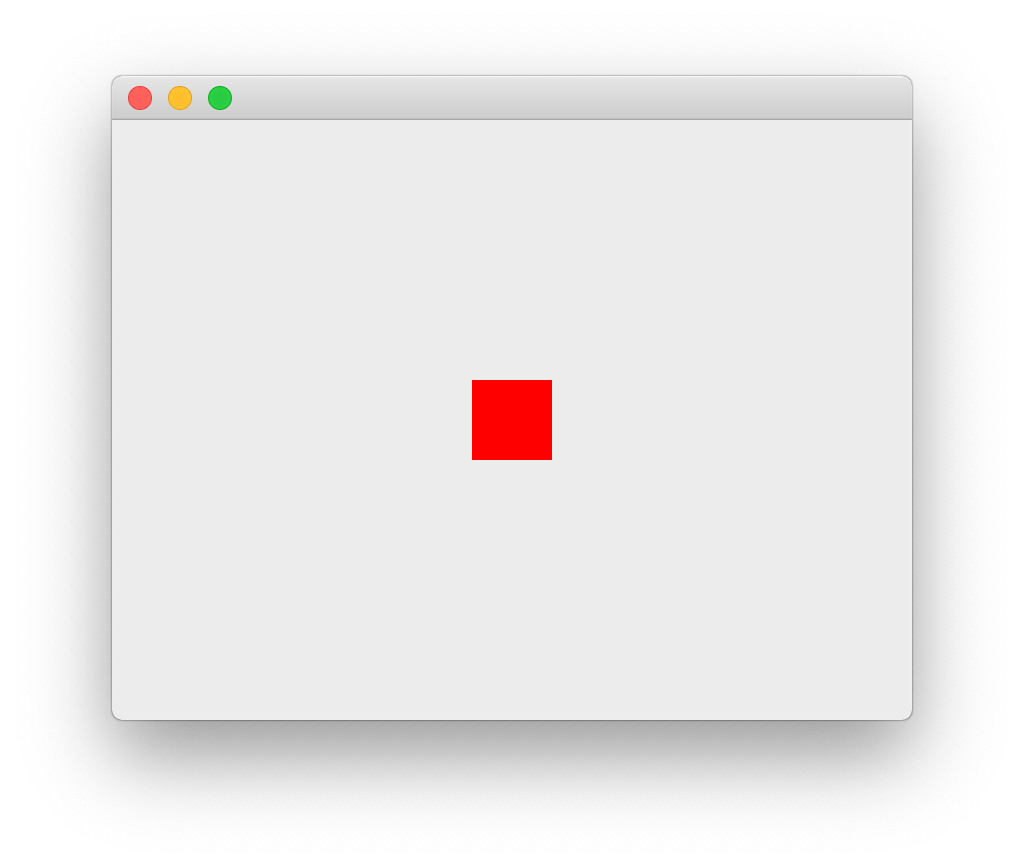 A big red dot.
You are free to perform multiple draw operations with your QPainter until the painter is ended. Drawing onto the canvas is very quick — here we're drawing 10k dots at random.
def draw_something(self):
    from random import randint
    canvas = self.label.pixmap()
    painter = QtGui.QPainter(canvas)
    pen = QtGui.QPen()
    pen.setWidth(3)
    painter.setPen(pen)

    for n in range(10000):
        painter.drawPoint(
            200+randint(-100, 100),  # x
            150+randint(-100, 100)   # y
            )
    painter.end()
    self.label.setPixmap(canvas)
The dots are 3 pixel-width and black (the default pen).
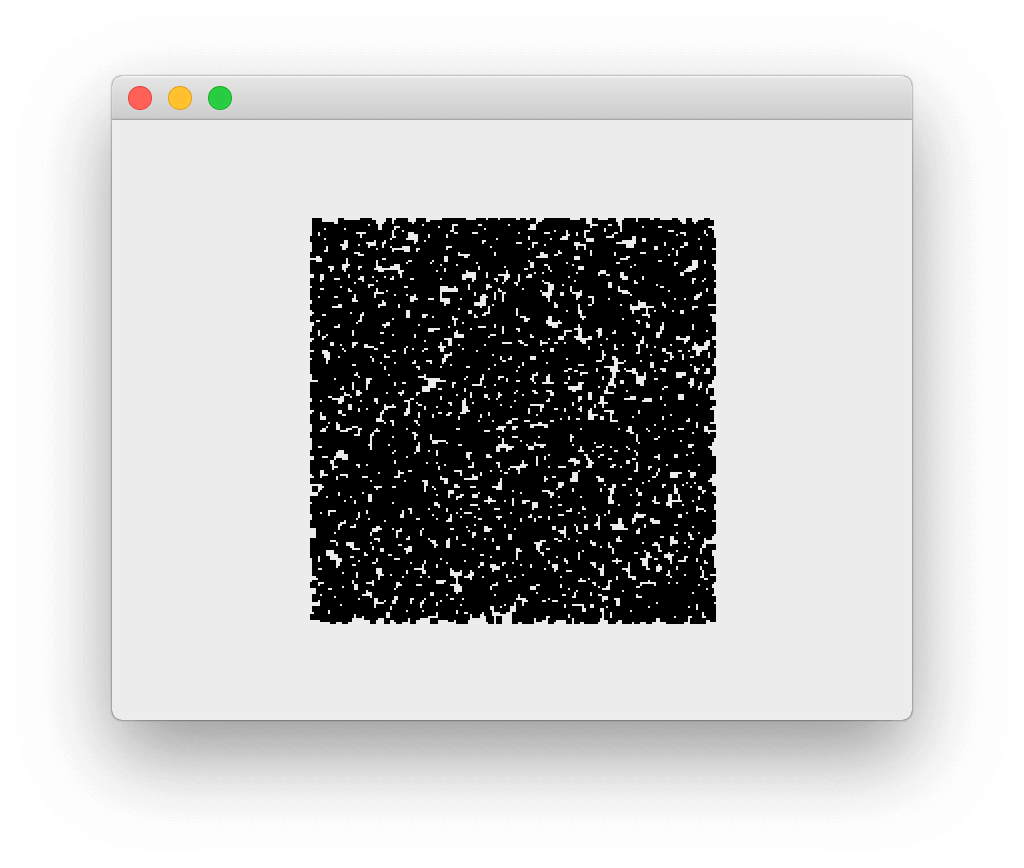 10k 3-pixel dots on a canvas
You will often want to update the current pen while drawing — e.g. to draw multiple points in different colors while keeping other characteristics (width) the same. To do this without recreating a new QPen instance each time you can get the current active pen from the QPainterusing pen = painter.pen(). You can also re-apply an existing pen multiple times, changing it each time.
def draw_something(self):
    from random import randint, choice
    colors = ['#FFD141', '#376F9F', '#0D1F2D', '#E9EBEF', '#EB5160']

    canvas = self.label.pixmap()
    painter = QtGui.QPainter(canvas)
    pen = QtGui.QPen()
    pen.setWidth(3)
    painter.setPen(pen)

    for n in range(10000):
        # pen = painter.pen() you could get the active pen here
        pen.setColor(QtGui.QColor(choice(colors)))
        painter.setPen(pen)
        painter.drawPoint(
            200+randint(-100, 100),  # x
            150+randint(-100, 100)   # y
            )
    painter.end()
    self.label.setPixmap(canvas)
Will produce the following output —
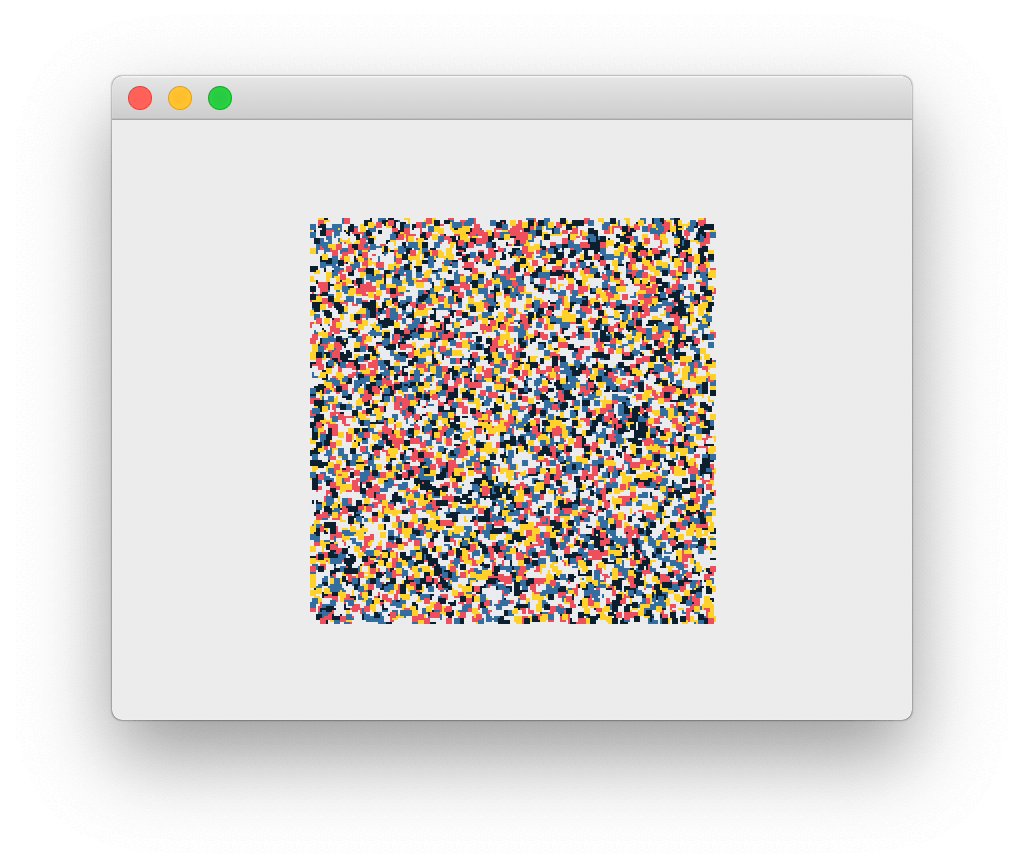 Random pattern of 3 width dots
There can only ever be one QPen active on a QPainter — the current pen.
That's about as much excitement as you can have drawing dots onto a screen, so we'll move on to look at some other drawing operations.
drawLine
We already drew a line on the canvas at the beginning to test things are working. But what we didn't try was setting the pen to control the line appearance.
def draw_something(self):
    from random import randint
    canvas = self.label.pixmap()
    painter = QtGui.QPainter(canvas)
    pen = QtGui.QPen()
    pen.setWidth(15)
    pen.setColor(QtGui.QColor('blue'))
    painter.setPen(pen)
    painter.drawLine(
        QtCore.QPoint(100, 100),
        QtCore.QPoint(300, 200)
    )
    painter.end()
    self.label.setPixmap(canvas)
In this example we're also using QPoint to define the two points to connect with a line, rather than passing individual x1, y1, x2, y2 parameters — remember that both methods are functionally identical.
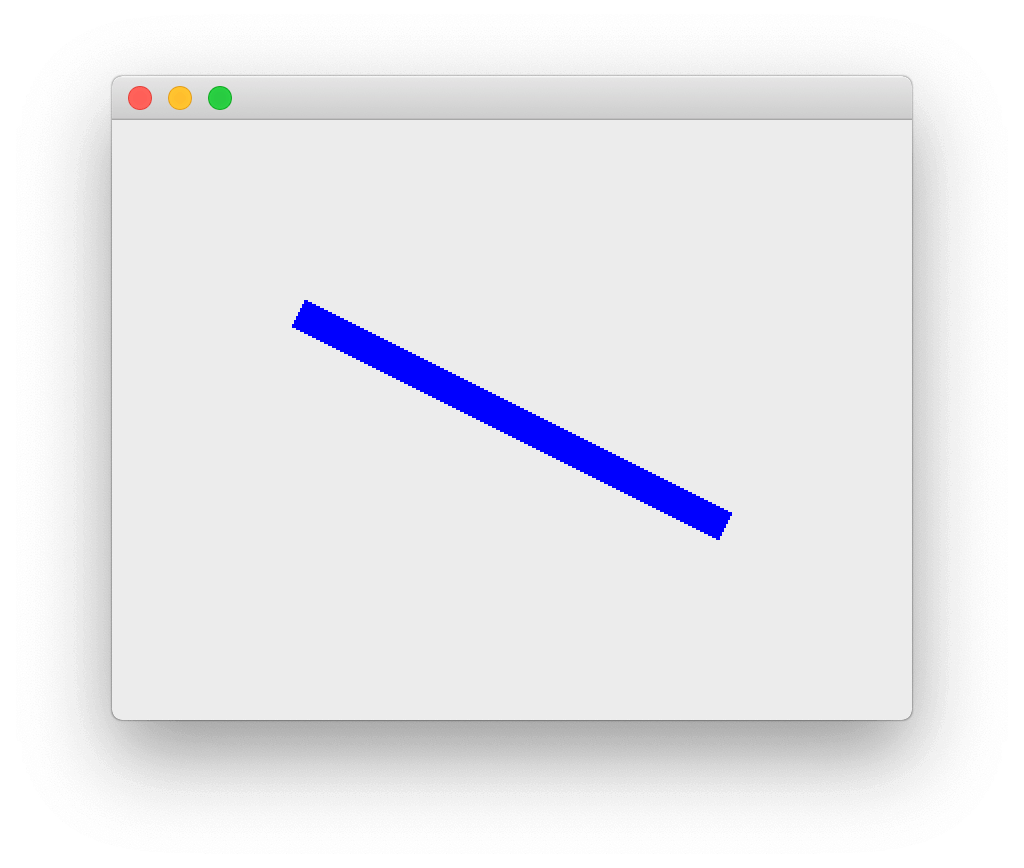 A thick blue line
drawRect, drawRects and drawRoundedRect
These functions all draw rectangles, defined by x, y coordinates and a width and height of the rectangle, or by QRect or QRectF instances which provide the equivalent information.
def draw_something(self):
    from random import randint
    canvas = self.label.pixmap()
    painter = QtGui.QPainter(canvas)
    pen = QtGui.QPen()
    pen.setWidth(3)
    pen.setColor(QtGui.QColor("#EB5160"))
    painter.setPen(pen)
    painter.drawRect(50, 50, 100, 100)
    painter.drawRect(60, 60, 150, 100)
    painter.drawRect(70, 70, 100, 150)
    painter.drawRect(80, 80, 150, 100)
    painter.drawRect(90, 90, 100, 150)
    painter.end()
    self.label.setPixmap(canvas)
A square is just a rectangle with the same width and height.
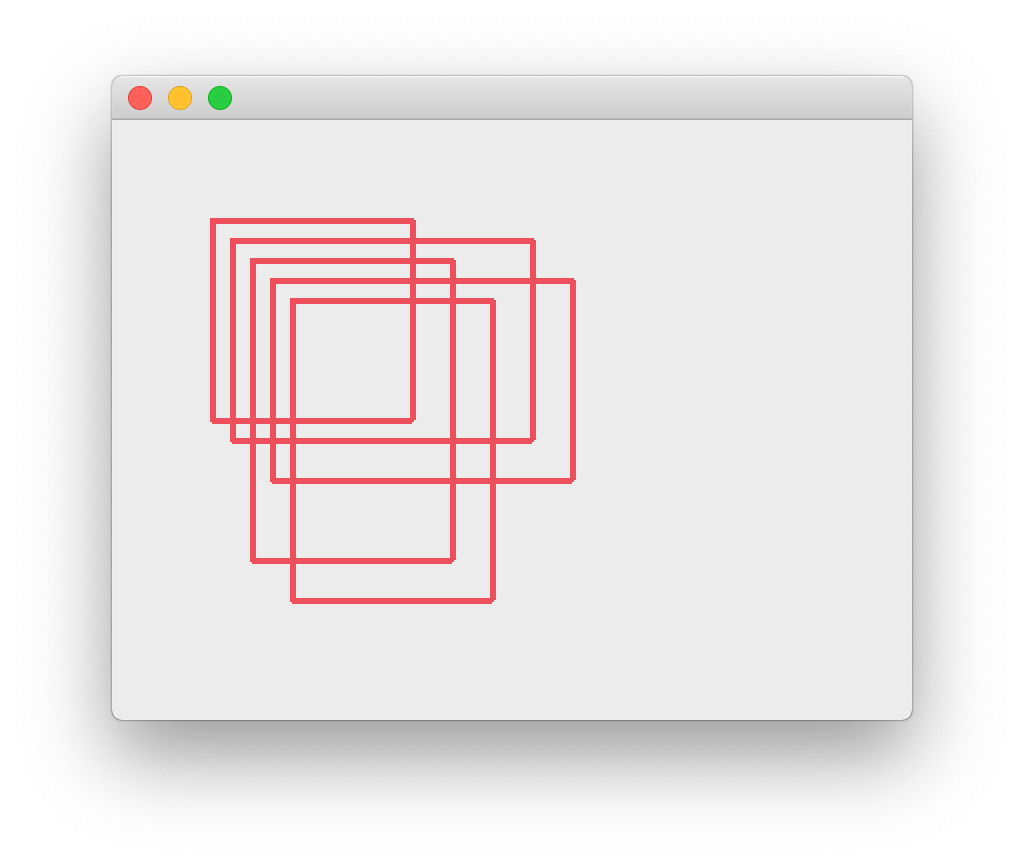 Drawing rectangles
You can also replace the multiple calls to drawRect with a single call to drawRects passing in multiple QRect objects. This will produce exactly the same result.
painter.drawRects(
    QtCore.QRect(50, 50, 100, 100),
    QtCore.QRect(60, 60, 150, 100),
    QtCore.QRect(70, 70, 100, 150),
    QtCore.QRect(80, 80, 150, 100),
    QtCore.QRect(90, 90, 100, 150),
)
Drawn shapes can be filled in PyQt by setting the current active painter brush, passing in a QBrush instance to painter.setBrush(). The following example fills all rectangles with a patterned yellow color.
def draw_something(self):
    from random import randint
    canvas = self.label.pixmap()
    painter = QtGui.QPainter(canvas)
    pen = QtGui.QPen()
    pen.setWidth(3)
    pen.setColor(QtGui.QColor("#376F9F"))
    painter.setPen(pen)

    brush = QtGui.QBrush()
    brush.setColor(QtGui.QColor("#FFD141"))
    brush.setStyle(Qt.BrushStyle.Dense1Pattern)
    painter.setBrush(brush)

    painter.drawRects(
        QtCore.QRect(50, 50, 100, 100),
        QtCore.QRect(60, 60, 150, 100),
        QtCore.QRect(70, 70, 100, 150),
        QtCore.QRect(80, 80, 150, 100),
        QtCore.QRect(90, 90, 100, 150),
    )
    painter.end()
    self.label.setPixmap(canvas)
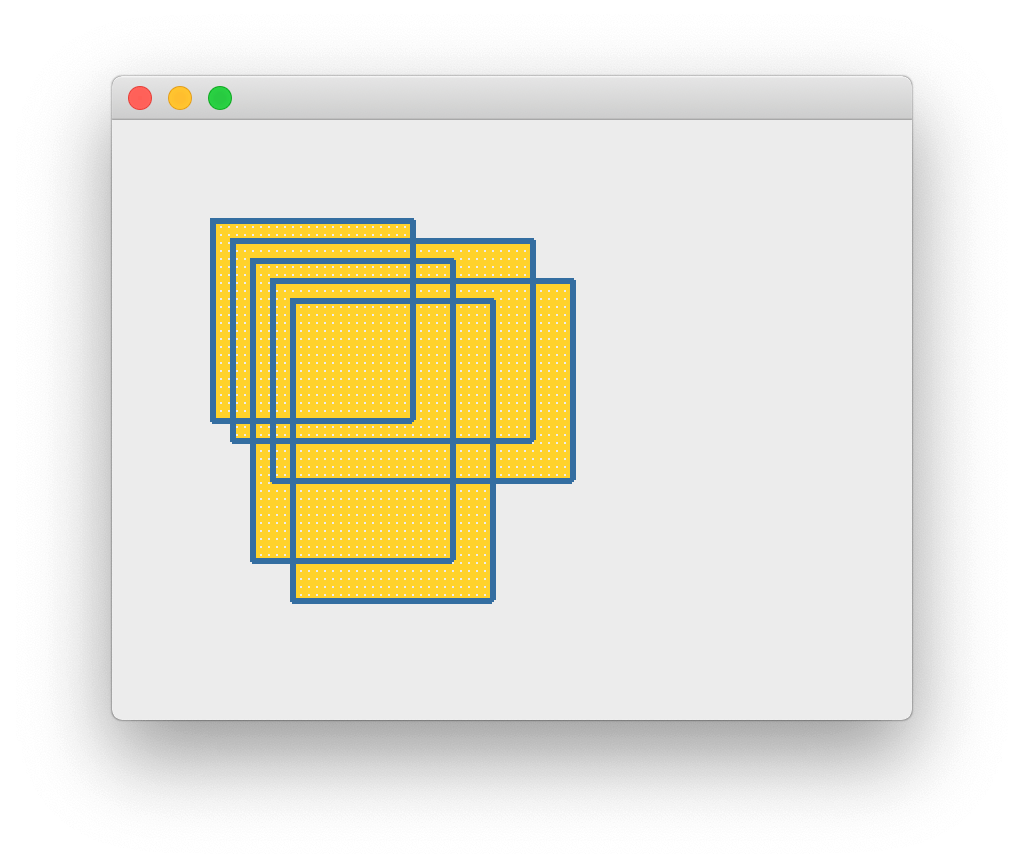 Filled rectangles
As for the pen, there is only ever one brush active on a given painter, but you can switch between them or change them while drawing. There are a number of brush style patterns available. You'll probably use Qt.SolidPattern more than any others though.
You must set a style to see any fill at all as the default is Qt.NoBrush
The drawRoundedRect methods draw a rectangle, but with rounded edges, and so take two extra parameters for the x & y radius of the corners.
def draw_something(self):
    from random import randint
    canvas = self.label.pixmap()
    painter = QtGui.QPainter(canvas)
    pen = QtGui.QPen()
    pen.setWidth(3)
    pen.setColor(QtGui.QColor("#376F9F"))
    painter.setPen(pen)
    painter.drawRoundedRect(40, 40, 100, 100, 10, 10)
    painter.drawRoundedRect(80, 80, 100, 100, 10, 50)
    painter.drawRoundedRect(120, 120, 100, 100, 50, 10)
    painter.drawRoundedRect(160, 160, 100, 100, 50, 50)
    painter.end()
    self.label.setPixmap(canvas)
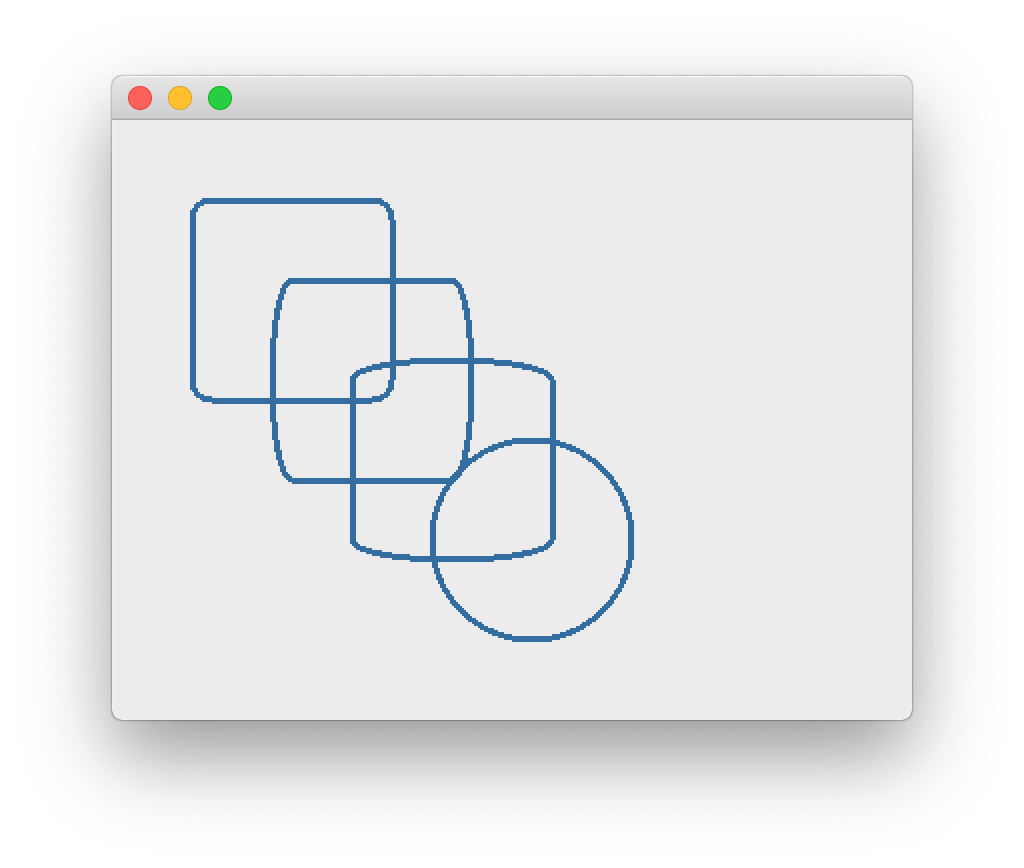 Rounded rectangles.
There is an optional final parameter to toggle between the x & y ellipse radii of the corners being defined in absolute pixel terms Qt.RelativeSize (the default) or relative to the size of the rectangle (passed as a value 0…100). Pass Qt.RelativeSize to enable this.
drawEllipse
The final primitive draw method we'll look at now is drawEllipse which can be used to draw an ellipse or a circle.
A circle is just an ellipse with an equal width and height.
Purchasing Power Parity
Developers in [[ country ]] get [[ discount.discount_pc ]]% OFF on all books & courses with code [[ discount.coupon_code ]]def draw_something(self):
from random import randint
canvas = self.label.pixmap()
painter = QtGui.QPainter(canvas)
pen = QtGui.QPen()
pen.setWidth(3)
pen.setColor(QtGui.QColor(204,0,0)) # r, g, b
painter.setPen(pen)
painter.drawEllipse(10, 10, 100, 100)
painter.drawEllipse(10, 10, 150, 200)
painter.drawEllipse(10, 10, 200, 300)
painter.end()
self.label.setPixmap(canvas)
In this example drawEllipse is taking 4 parameters, with the first two being the x & y position of the top left of the rectangle in which the ellipse will be drawn, while the last two parameters are the width and height of that rectangle respectively.
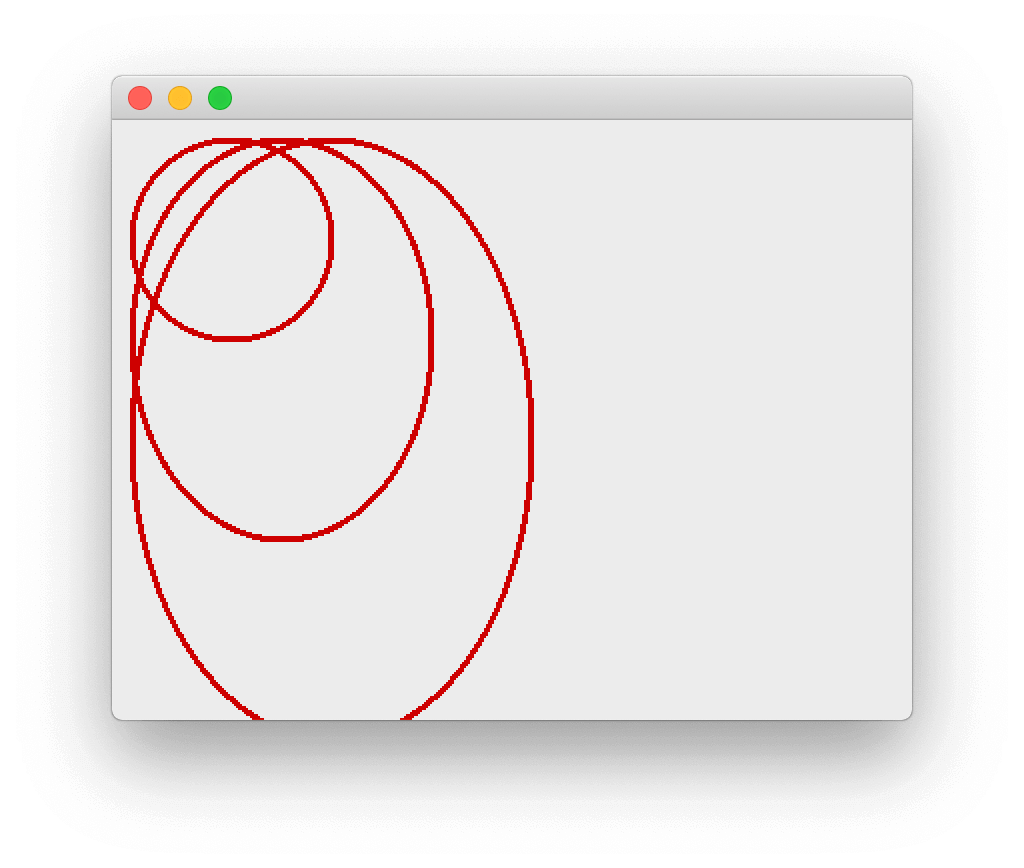 Drawing an ellipse with x, y, width, height or QRect.
You can achieve the same by passing in a QRect
There is another call signature which takes the centre of the ellipse as the first parameter, provided as QPoint or QPointF object, and then a x and y radius. The example below shows it in action.
painter.drawEllipse(QtCore.QPoint(100, 100), 10, 10)
painter.drawEllipse(QtCore.QPoint(100, 100), 15, 20)
painter.drawEllipse(QtCore.QPoint(100, 100), 20, 30)
painter.drawEllipse(QtCore.QPoint(100, 100), 25, 40)
painter.drawEllipse(QtCore.QPoint(100, 100), 30, 50)
painter.drawEllipse(QtCore.QPoint(100, 100), 35, 60)
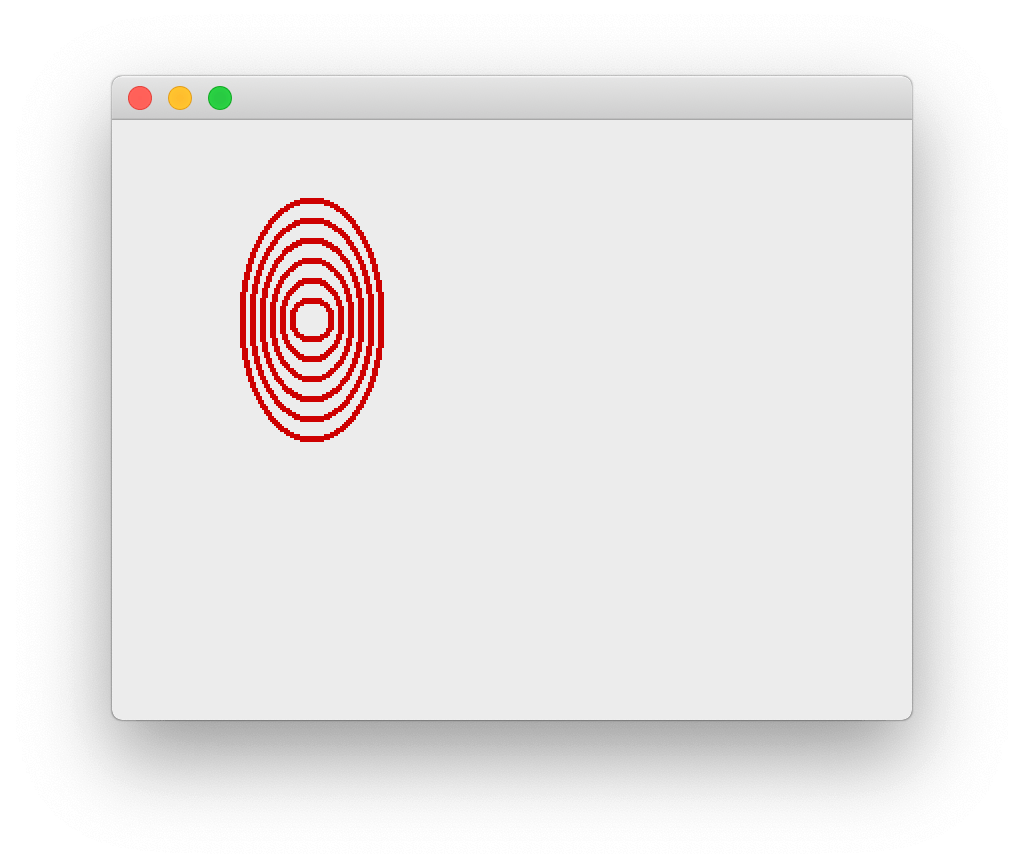 Drawing an ellipse using Point & radius.
You can fill ellipses by setting QBrush just as for filling rectangles, the same features for style and color are available.
Text
Finally, we'll take a brief tour through the QPainter text drawing methods. To control the current font on a QPainter you use setFont passing in a QFont instance. With this you can control the family, weight and size (among other things) of the text you write. However, the color of the text is still defined using the current pen.
def draw_something(self):
    from random import randint
    canvas = self.label.pixmap()
    painter = QtGui.QPainter(canvas)

    pen = QtGui.QPen()
    pen.setWidth(1)
    pen.setColor(QtGui.QColor('green'))
    painter.setPen(pen)

    font = QtGui.QFont()
    font.setFamily('Times')
    font.setBold(True)
    font.setPointSize(40)
    painter.setFont(font)

    painter.drawText(100, 100, 'Hello, world!')
    painter.end()
    self.label.setPixmap(canvas)
You can also specify location with QPoint or QPointF.
The width of the pen has no effect on the appearance of the text.
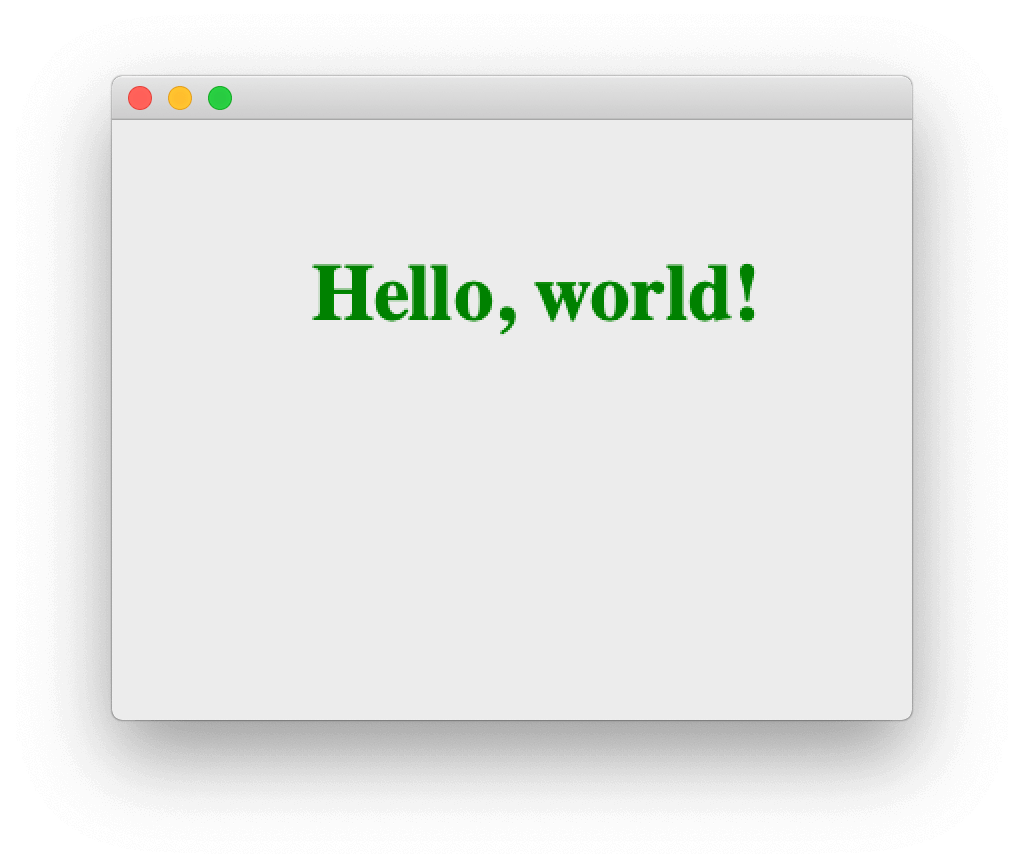 Bitmap text hello world example.
There are also methods for drawing text within a specified area. Here the parameters define the x & y position and the width & height of the bounding box. Text outside this box is clipped (hidden). The 5th parameter flags can be used to control alignment of the text within the box among other things.
painter.drawText(100, 100, 100, 100, Qt.AlignHCenter, 'Hello, world!')
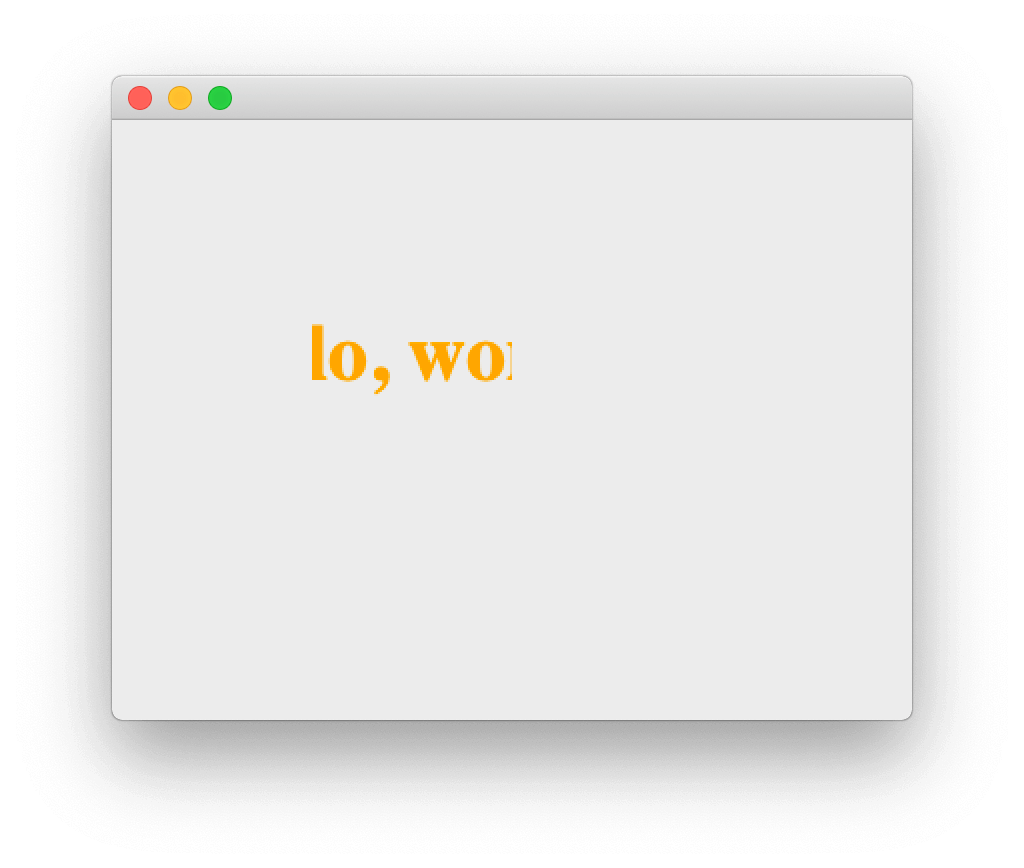 Bounding box clipped on drawText.
You have complete control over the display of text by setting the active font on the painter via a QFont object. Check out the QFont documentation for more information.
A bit of fun with QPainter
That got a bit heavy, so let's take a breather and make something fun. So far we've been programmatically defining draw operations to perform. But we can just as easily draw in response to user input — for example allowing a user to scribble all over the canvas. In this part we'll take what we've learned so far and use it to build a rudimentary Paint app.
We can start with the same simple application outline, adding a mouseMoveEvent handler to the MainWindow class in place of our draw method. Here we'll take the current position of the user's mouse and plot a point on the canvas.
import sys
from PyQt6 import QtCore, QtGui, QtWidgets, uic
from PyQt6.QtCore import Qt

class MainWindow(QtWidgets.QMainWindow):
    def __init__(self):
        super().__init__()

        self.label = QtWidgets.QLabel()
        canvas = QtGui.QPixmap(400, 300)
        canvas.fill(Qt.GlobalColor.white)
        self.label.setPixmap(canvas)
        self.setCentralWidget(self.label)

    def mouseMoveEvent(self, e):
        canvas = self.label.pixmap()
        painter = QtGui.QPainter(canvas)
        painter.drawPoint(int(e.position().x()), int(e.position().y()))
        painter.end()
        self.label.setPixmap(canvas)

app = QtWidgets.QApplication(sys.argv)
window = MainWindow()
window.show()
app.exec()
Why no click event? Widgets by default only receive mouse move events when a mouse button is pressed, unless mouse tracking is enabled. This can be configured using the .setMouseTracking method — setting this to True (it is False by default) will track the mouse continuously.
If you save this and run it you should be able to move your mouse over the screen and click to draw individual points. It should look something like this —
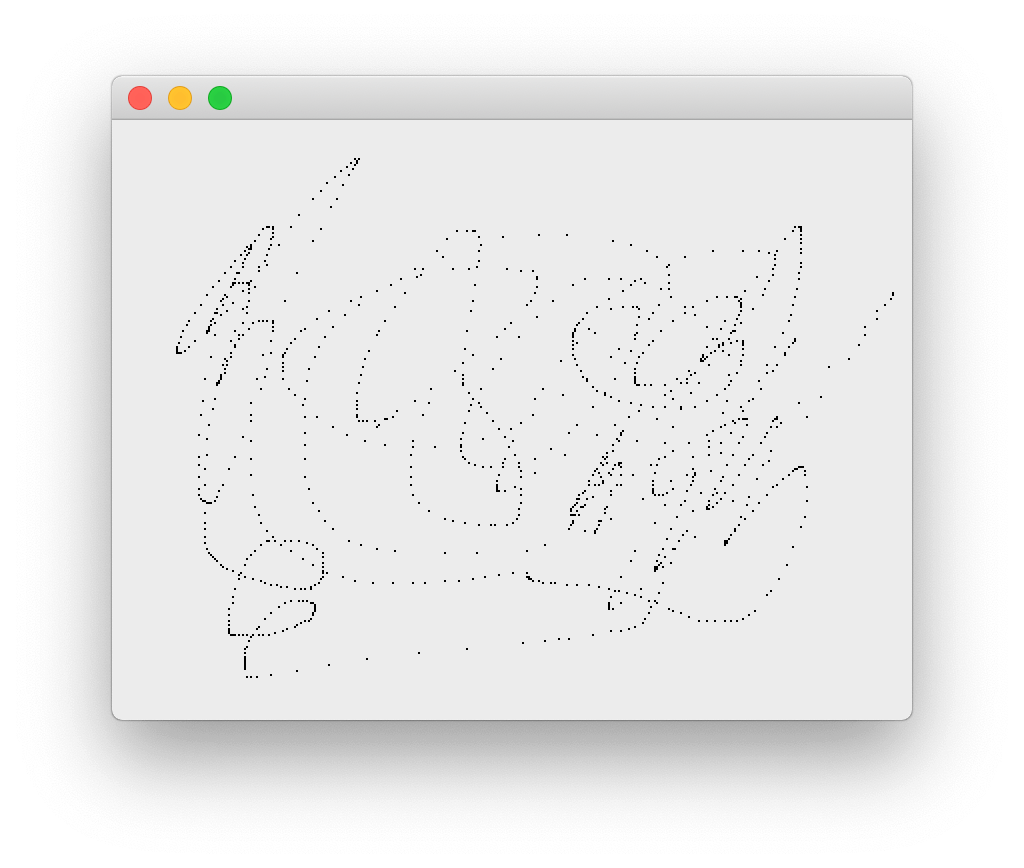 Drawing individual mouseMoveEvent points.
The issue here is that when you move the mouse around quickly it actually jumps between locations on the screen, rather than moving smoothly from one place to the next. The mouseMoveEventis fired for each location the mouse is in, but that's not enough to draw a continuous line, unless you move very slowly.
The solution to this is to draw lines instead of points. On each event we simply draw a line from where we were (previous e.position().x() and e.position().y()) to where we are now (current e.position().x() and e.position().y()). We can do this by tracking last_x and last_y ourselves.
We also need to forget the last position when releasing the mouse, or we'll start drawing from that location again after moving the mouse across the page — i.e. we won't be able to break the line.
import sys
from PyQt6 import QtCore, QtGui, QtWidgets, uic
from PyQt6.QtCore import Qt


class MainWindow(QtWidgets.QMainWindow):

    def __init__(self):
        super().__init__()

        self.label = QtWidgets.QLabel()
        canvas = QtGui.QPixmap(400, 300)
        canvas.fill(Qt.GlobalColor.white)
        self.label.setPixmap(canvas)
        self.setCentralWidget(self.label)

        self.last_x, self.last_y = None, None

    def mouseMoveEvent(self, e):
        if self.last_x is None: # First event.
            self.last_x = e.position().x()
            self.last_y = e.position().y()
            return # Ignore the first time.

        canvas = self.label.pixmap()
        painter = QtGui.QPainter(canvas)
        painter.drawLine(self.last_x, self.last_y, e.position().x(), e.position().y())
        painter.end()
        self.label.setPixmap(canvas)

        # Update the origin for next time.
        self.last_x = e.position().x()
        self.last_y = e.position().y()

    def mouseReleaseEvent(self, e):
        self.last_x = None
        self.last_y = None


app = QtWidgets.QApplication(sys.argv)
window = MainWindow()
window.show()
app.exec()
If you run this you should be able to scribble on the screen as you would expect.
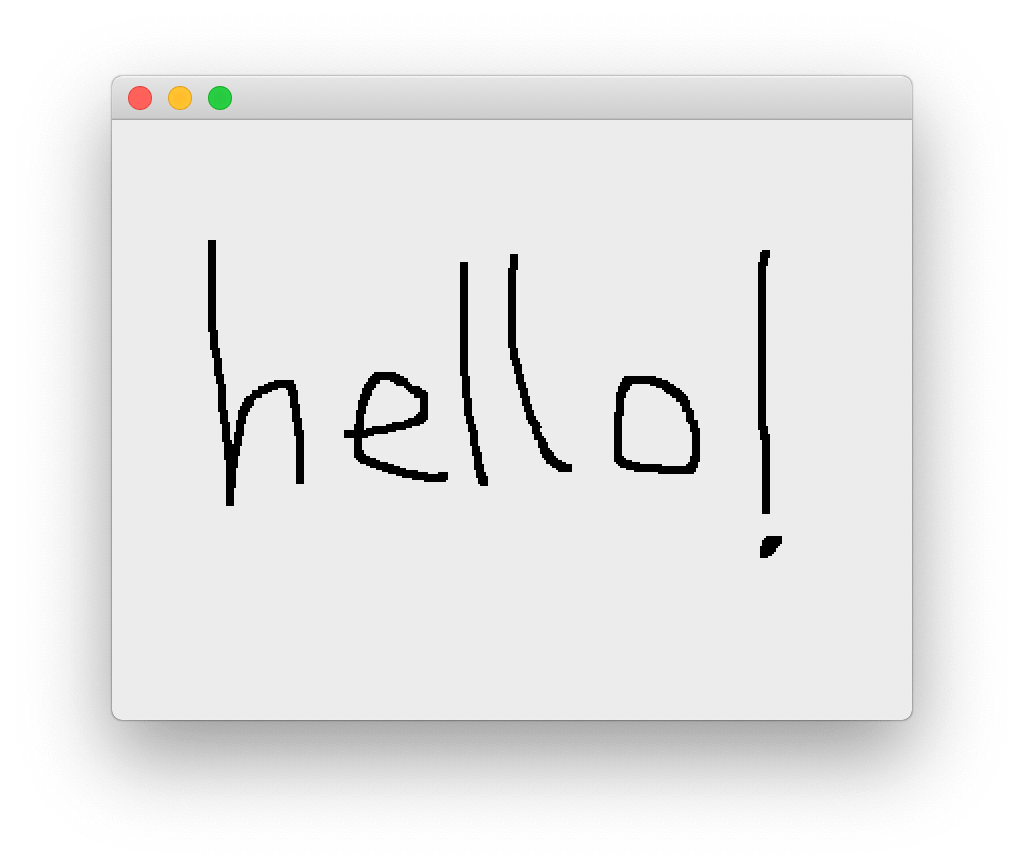 Drawing with the mouse, using a continuous line.
It's still a bit dull, so let's add a simple palette to allow us to change the pen color.
This requires a bit of re-architecting. So far we've using the mouseMoveEvent on the QMainWindow . When we only have a single widget in the window this is fine — as long as you don't resize the window larger than the widget (did you try that?), the coordinates of the container and the single nested widget line up. However, if we add other widgets to the layout this won't hold — the coordinates of the QLabel will be offset from the window, and we'll be drawing in the wrong location.
This is easily fixed by moving the mouse handling onto the QLabel itself— it's event coordinates are always relative to itself. This we wrap up as an custom Canvas object, which handles the creation of the pixmap surface, sets up the x & y locations and the holds the current pen color (set to black by default).
This self-contained Canvas is a drop-in drawable surface you could use in your own apps.
import sys
from PyQt6 import QtCore, QtGui, QtWidgets, uic
from PyQt6.QtCore import Qt

class Canvas(QtWidgets.QLabel):

    def __init__(self):
        super().__init__()
        pixmap = QtGui.QPixmap(600, 300)
        pixmap.fill(Qt.GlobalColor.white)
        self.setPixmap(canvas)

        self.last_x, self.last_y = None, None
        self.pen_color = QtGui.QColor('#000000')

    def set_pen_color(self, c):
        self.pen_color = QtGui.QColor(c)

    def mouseMoveEvent(self, e):
        if self.last_x is None: # First event.
            self.last_x = e.position().x()
            self.last_y = e.position().y()
            return # Ignore the first time.

        canvas = self.label.pixmap()
        painter = QtGui.QPainter(canvas)
        p = painter.pen()
        p.setWidth(4)
        p.setColor(self.pen_color)
        painter.setPen(p)
        painter.drawLine(self.last_x, self.last_y, e.position().x(), e.position().y())
        painter.end()
        self.label.setPixmap(canvas)

        # Update the origin for next time.
        self.last_x = e.position().x()
        self.last_y = e.position().y()

    def mouseReleaseEvent(self, e):
        self.last_x = None
        self.last_y = None
For the color selection we're going to build a custom widget, based off QPushButton. This widget accepts a color parameter which can be a QColour instance, or a color name ('red', 'black') or hex value. This color is set on the background of the widget to make it identifiable. We can use the standard QPushButton.pressed signal to hook it up to any actions.
COLORS = [
# 17 undertones https://lospec.com/palette-list/17undertones
'#000000', '#141923', '#414168', '#3a7fa7', '#35e3e3', '#8fd970', '#5ebb49',
'#458352', '#dcd37b', '#fffee5', '#ffd035', '#cc9245', '#a15c3e', '#a42f3b',
'#f45b7a', '#c24998', '#81588d', '#bcb0c2', '#ffffff',
]


class QPaletteButton(QtWidgets.QPushButton):

    def __init__(self, color):
        super().__init__()
        self.setFixedSize(QtCore.QSize(24,24))
        self.color = color
        self.setStyleSheet("background-color: %s;" % color)
With those two new parts defined, we simply need to iterate over our list of colors, create a QPaletteButton passing in the color, connect its pressed signal to the set_pen_color handler on the canvas (indirectly through a lambda to pass the additional color data) and add it to the palette layout.
class MainWindow(QtWidgets.QMainWindow):

    def __init__(self):
        super().__init__()

        self.canvas = Canvas()

        w = QtWidgets.QWidget()
        l = QtWidgets.QVBoxLayout()
        w.setLayout(l)
        l.addWidget(self.canvas)

        palette = QtWidgets.QHBoxLayout()
        self.add_palette_buttons(palette)
        l.addLayout(palette)

        self.setCentralWidget(w)

    def add_palette_buttons(self, layout):
        for c in COLORS:
            b = QPaletteButton(c)
            b.pressed.connect(lambda c=c: self.canvas.set_pen_color(c))
            layout.addWidget(b)


app = QtWidgets.QApplication(sys.argv)
window = MainWindow()
window.show()
app.exec()
This should give you a fully-functioning multicolor paint application, where you can draw lines on the canvas and select colors from the palette.
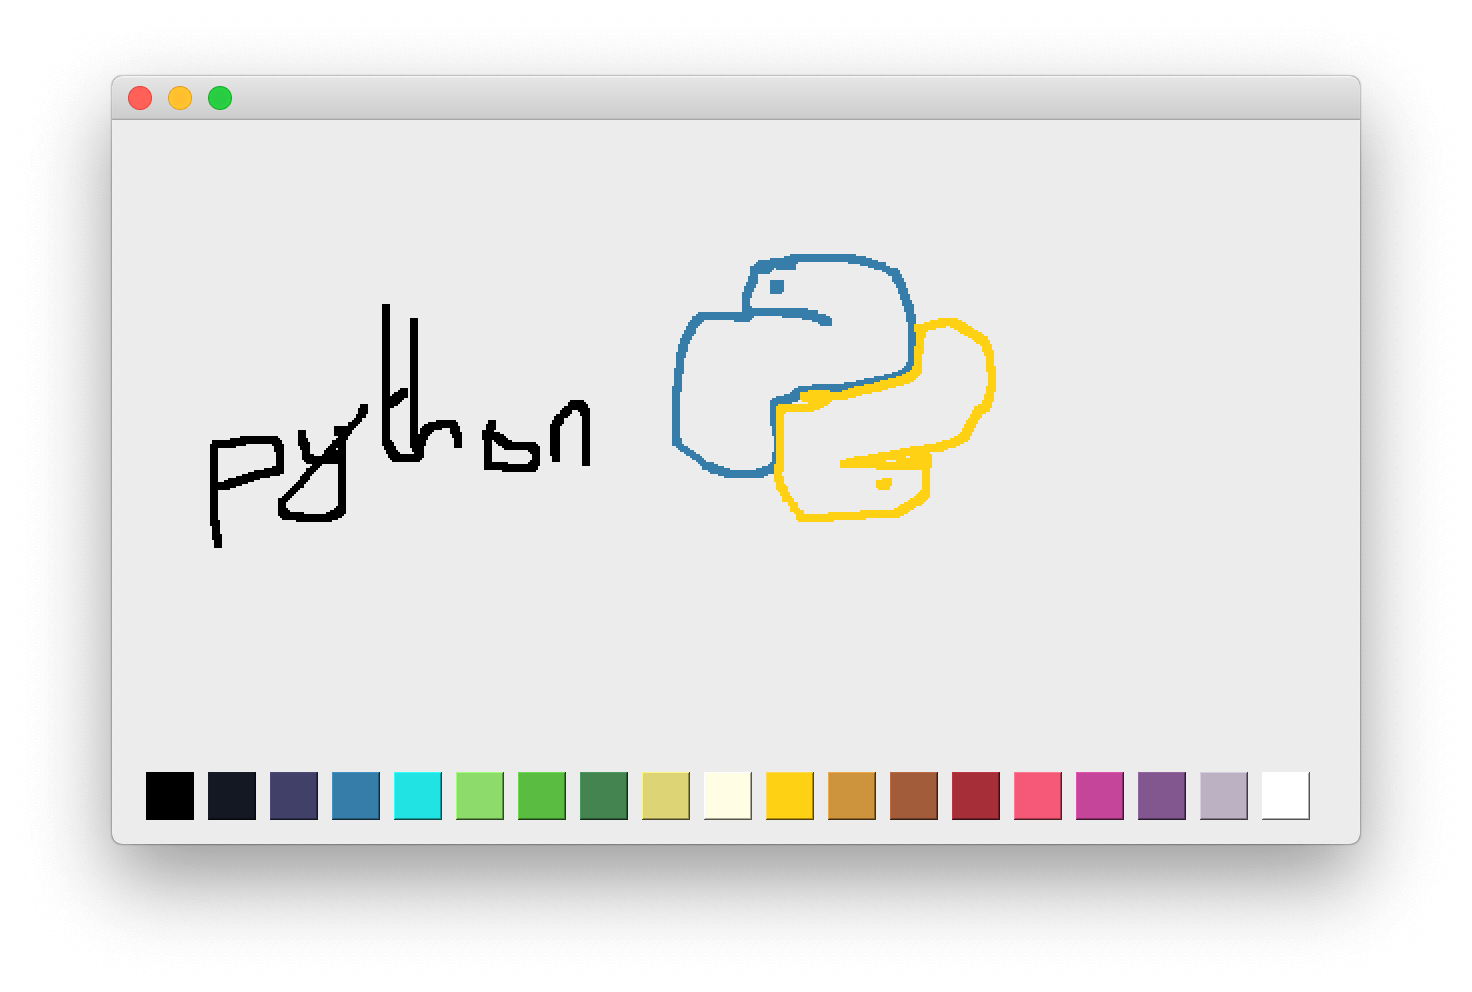 Unfortunately, it doesn't make you a good artist.
Spray
For a final bit of fun you can switch out the mouseMoveEvent with the following to draw with a "spray can" effect instead of a line. This is simulated using random.gauss to generate a series of normally distributed dots around the current mouse position which we plot with drawPoint.
    def mouseMoveEvent(self, e):
        canvas = self.label.pixmap()
        painter = QtGui.QPainter(canvas)
        p = painter.pen()
        p.setWidth(1)
        p.setColor(self.pen_color)
        painter.setPen(p)

        for n in range(SPRAY_PARTICLES):
            xo = random.gauss(0, SPRAY_DIAMETER)
            yo = random.gauss(0, SPRAY_DIAMETER)
            painter.drawPoint(
                int(e.position().x() + xo),
                int(e.position().y() + yo)
            )

        painter.end()
        self.label.setPixmap(canvas)
Define the SPRAY_PARTICLES and SPRAY_DIAMETER variables at the top of your file and import the random standard library module. The image below shows the spray behaviour when using the following settings:
import random

SPRAY_PARTICLES = 100
SPRAY_DIAMETER = 10

For the spray can we don't need to track the previous position, as we always spray around the current point.
If you want a challenge, you could try adding an additional button to toggle between draw and spray mode, or an input to define the brush/spray diameter.
For a fully-functional drawing program written with PyQt6 check out my 15 Minute App "Piecasso".
This introduction should have given you a good idea of what you can do with QPainter. As described, this system is the basis of all widget drawing. If you want to look further, check out the widget .paint() method, which receives a QPainter instance, to allow the widget to draw on itself. The same methods you've learned here can be used in .paint() to draw some basic custom widgets. We'll expand on this in the next tutorial.
Create GUI Applications with Python & Qt6 by Martin Fitzpatrick — (PyQt6 Edition) The hands-on guide to making apps with Python — Over 15,000 copies sold!
