System tray applications (or menu bar applications) can be useful for making common functions or information available in a small number of clicks. For full desktop applications they're a useful shortcut to control apps without opening up the whole window.
Qt provides a simple interface for building cross-platform system tray (Windows) or menu bar (MacOS) apps.
Minimal example
Below is a minimal working example for showing an icon in the toolbar/system tray with a menu. The action in the menu isn't connected and so doesn't do anything yet.
from PyQt5.QtGui import *
from PyQt5.QtWidgets import *

app = QApplication([])
app.setQuitOnLastWindowClosed(False)

# Create the icon
icon = QIcon("icon.png")

# Create the tray
tray = QSystemTrayIcon()
tray.setIcon(icon)
tray.setVisible(True)

# Create the menu
menu = QMenu()
action = QAction("A menu item")
menu.addAction(action)

# Add a Quit option to the menu.
quit = QAction("Quit")
quit.triggered.connect(app.quit)
menu.addAction(quit)

# Add the menu to the tray
tray.setContextMenu(menu)

app.exec_()
You'll notice that there isn't a QMainWindow, simply because we don't actually have any window to show. You can create a window as normal without affecting the behavior of the system tray icon.
You'll need an icon for this example — I recommend the fugue icon set.
The default behavior in Qt is to close an application once all the active windows have closed. This won't affect this toy example, but will be an issue in application where you do create windows and then close them. Setting `app.setQuitOnLastWindowClosed(False)` stops this and will ensure your application keeps running.
The provided icon shows up in the toolbar (you can see it on the left).
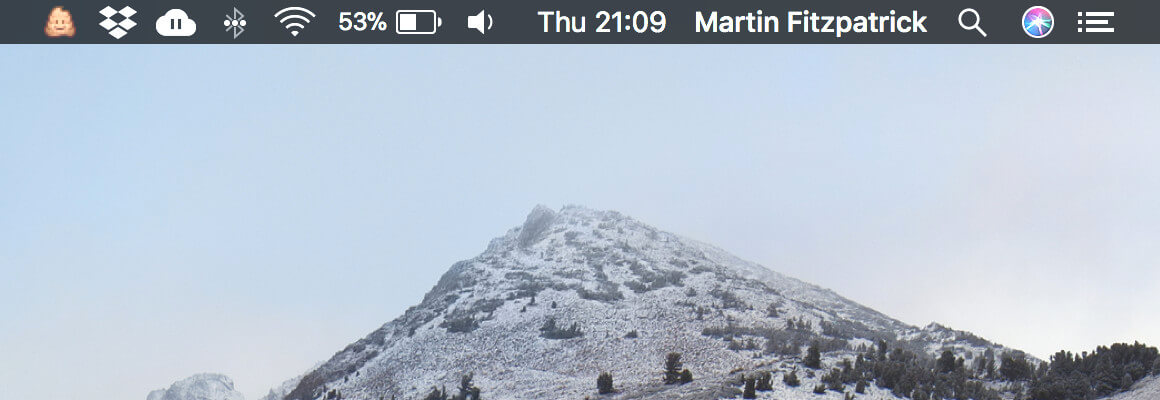 The system tray icon shown on the menu bar (as a poo emoticon)
Clicking on the icon shows the added menu.
PyQt6 Crash Course by Martin Fitzpatrick — The important parts of PyQt6 in bite-size chunks
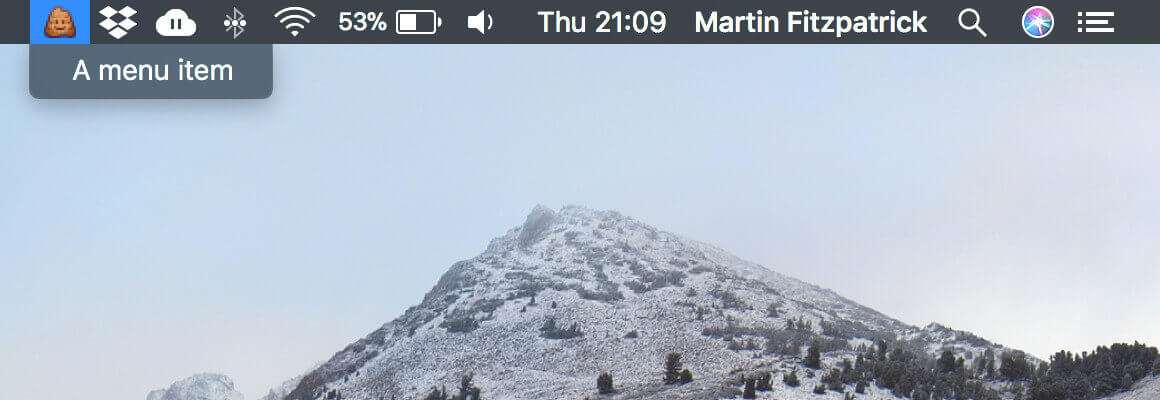 System tray icon with menu expanded
This application doesn't do anything yet, so in the next part we'll expand this example to create a mini colour-picker.
Color tray
Below is a more complete working example using the built in QColorDialog from Qt to give a toolbar accessible color picker. The menu lets you choose to get the picked color as HTML-format #RRGGBB, rgb(R,G,B) or hsv(H,S,V).
from PyQt5.QtGui import *
from PyQt5.QtWidgets import *

app = QApplication([])
app.setQuitOnLastWindowClosed(False)

# Create the icon
icon = QIcon("color.png")

clipboard = QApplication.clipboard()
dialog = QColorDialog()

def copy_color_hex():
    if dialog.exec_():
        color = dialog.currentColor()
        clipboard.setText(color.name())

def copy_color_rgb():
    if dialog.exec_():
        color = dialog.currentColor()
        clipboard.setText("rgb(%d, %d, %d)" % (
            color.red(), color.green(), color.blue()
        ))

def copy_color_hsv():
    if dialog.exec_():
        color = dialog.currentColor()
        clipboard.setText("hsv(%d, %d, %d)" % (
            color.hue(), color.saturation(), color.value()
        ))

# Create the tray
tray = QSystemTrayIcon()
tray.setIcon(icon)
tray.setVisible(True)

# Create the menu
menu = QMenu()
action1 = QAction("Hex")
action1.triggered.connect(copy_color_hex)
menu.addAction(action1)

action2 = QAction("RGB")
action2.triggered.connect(copy_color_rgb)
menu.addAction(action2)

action3 = QAction("HSV")
action3.triggered.connect(copy_color_hsv)
menu.addAction(action3)

quit = QAction("Quit")
quit.triggered.connect(app.quit)
menu.addAction(quit)

# Add the menu to the tray
tray.setContextMenu(menu)

app.exec_()
As in the previous example there is no QMainWindow for this example. The menu is created as before, but adding 3 actions for the different output formats. Each action is connected to a specific handler function for the format it represents. Each handler shows a dialog and, if a color is selected, copies that color to the clipboard in the given format.
As before, the icon appears in the toolbar.
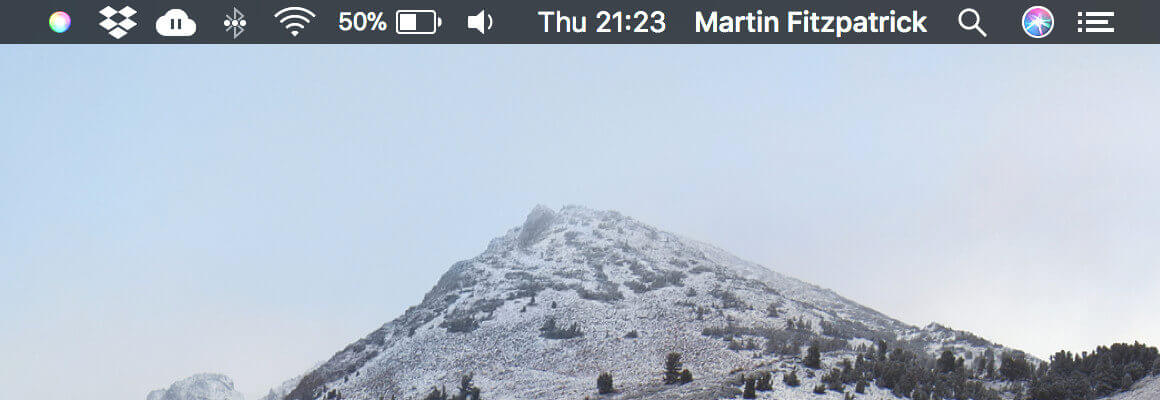 Color-picker icon on the Mac menu bar (left hand side)
Clicking the icon shows a menu, from which you can select the format of image you want to return.
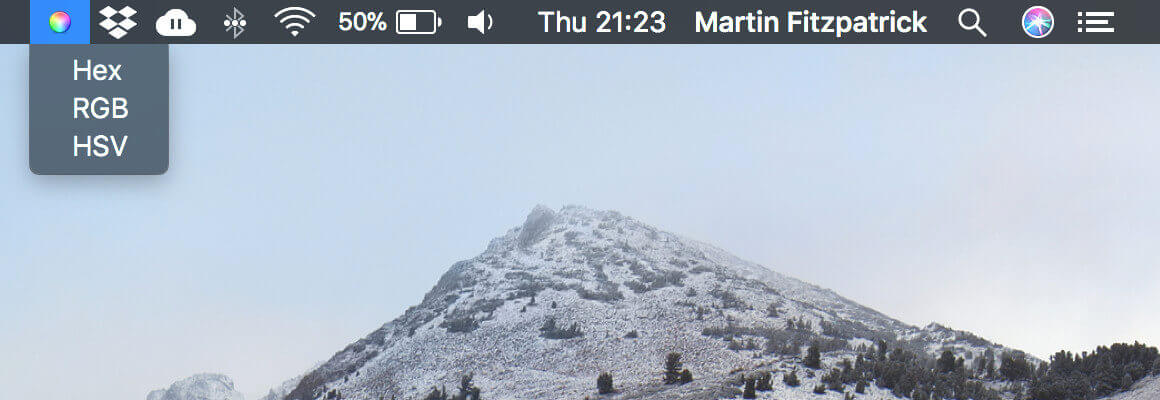 Options to return chosen colour (hex, RGB or HSV)
Once you've chosen the format, you'll see the standard Qt color picker window.
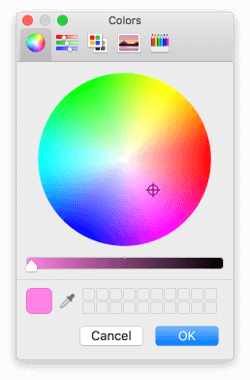 PyQt provides access to system dialogs, such as this Mac colour picker
Select the colour you want and click OK. The chosen colour will be copied to the clipboard in the requested format. The formats available will product the following output:
#a2b3cc             # range 00-FF
rgb(25, 28, 29)     # range 0-255
hsv(14, 93, 199)    # range 0-255
Suggestions for improvements
One simple and nice improvement would be to make the previously-selected colours available to re-copy in other formats. You could do this by storing the colour result value from the existing menu. Then add 3 more options, which show (on the menu) their return values — clicking these just copies that value to the clipboard.
Comprehensive code review • Bugfixes & improvements • Maintainability advice and architecture improvements • Design and usability assessment • Suggestions and tips to expand your knowledge • Packaging and distribution help for Windows, Mac & Linux • Find out more.
