You look at windows every day on your computer but have you wondered how you could make your own? In this tutorial, we'll get started making our own window, or graphical user interface (GUI), using Tkinter and Python.
A rough idea of what a GUI could look like:
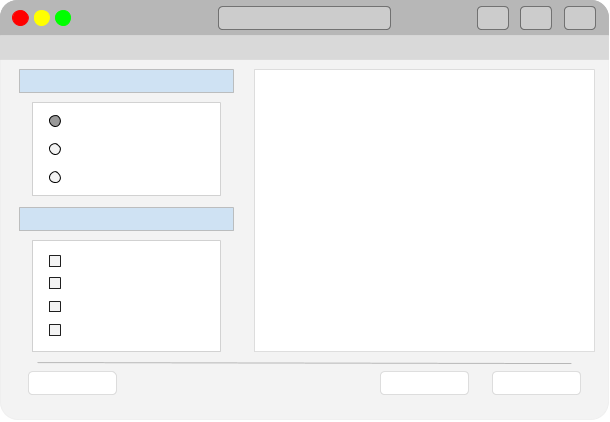 Example Desktop GUI
You can download the source code for all our articles.
The code for this article is in the folder tkinter/tutorials/create-gui-tkinter
What Is a GUI?
The most common way to interact with computers is using a graphical user interface (GUI). These rectangular windows with buttons, icons and menus are an intuitive way to get things done.
In this tutorial, we'll focus on building our own GUIs using Python and Tkinter. We'll begin by reviewing some of the basics, including creating a window and learning how to display images and text. With this knowledge, you can develop ideas for creating basic GUI applications.
What Is Tkinter?
Tkinter is Python's default GUI package and included in the standard library. It is an object-orientated layer on top of the open-source Tcl/Tk widget toolkit. You don't need to understand Tcl/Tk to use it.
While there are more feature-complete GUI frameworks available (such as Qt) Tkinter remains popular for small and beginner projects, because it's simple and readily available. If you just want to try out GUI programming it's a fine place to start.
How Can We Create a Window?
Let's start with the basics: creating a window with Tkinter. First create a new file called app.py and then add the following code:
import tkinter as tk

root = tk.Tk()
root.mainloop()
The first line imports the tkinter package using the short name tk to save typing later. First, we create the root widget object by calling tk.Tk(). The root widget is the app's main window or parent window. It must be created before any other windows, and there can only be one root.
The last line runs the app's main event loop. This handles mouse and keyboard inputs and communicates with the OS. That's it!
Bring Your PyQt/PySide Application to Market — Specialized launch support for scientific and engineering software built using Python & Qt.
Run this script, using python just like any other script.
python app.py
You'll get a window like the following on your screen:
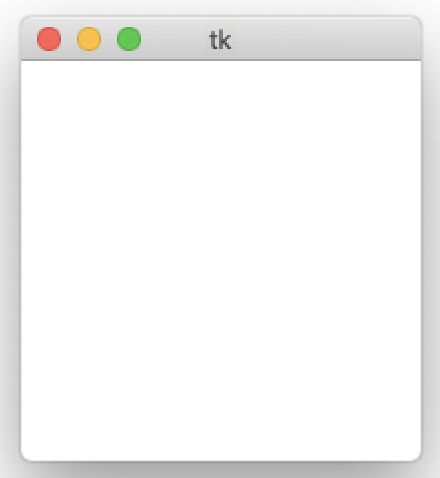 A small, blank empty window
We have our first window on the desktop. Next, let's look at some adjustments we can make like adding a title, changing the background color, and setting the window's size:
import tkinter as tk

root = tk.Tk()

# Setting some window properties
root.title("Tk Example")
root.configure(background="yellow")
root.minsize(200, 200)
root.maxsize(500, 500)
root.geometry("300x300+50+50")

root.mainloop()
Here, we changed the window's title to "Tk Example". We also changed the background color to "yellow" using the configure() method. Then, we adjusted the window's size. We set the minimum size and maximum size for the window.
Finally, let's talk about geometry(). This method allows us to define the window's geometry – Tkinter's terminology for size and shape – when we first run the program. This method take a string consisting of the window's width and height plus the x, and y coordinates on the screen. If the x and y coordinates aren't provided, then the window will show up in the top-left corner of the screen.
How Can We Display Text in a Label?
In Tkinter widget is the name given to a component of the UI that the user can interact with. User interfaces are made up of multiple widgets, arranged within a window. Labels are one of the most basic widgets. You can use them to display either text or images.
Let's update our example to add a label to our window.
import tkinter as tk

root = tk.Tk()
root.title("Tk Example")
root.minsize(200, 200)
root.geometry("300x300+50+50")

# Create two labels
tk.Label(root, text="Nothing will work unless you do.").pack()
tk.Label(root, text="- Maya Angelou").pack()

root.mainloop()
The first few lines are familiar by now, setting the window title, size and geometry. But we now create two Label widgets to display text. The first argument is our root window, followed by the text that we want to display.
By passing in root we tell Tkinter that these labels belong in the main window – the main window is their parent. Notice that after creating the label, we call .pack() on it. The pack() method is a geometry manager used to pack or place the widget on the current window. If we adjust the window size, the label will stay in the top-center part of the window.
This could also be written as follows, if you prefer – assigning the label object to a variable label1 and then calling .pack() on that.
label1 = tk.Label(root, text="Nothing will work unless you do.")
label1.pack()
You can also use labels to display images. You'll have a couple of ways to load images in Tkinter. For this example, we'll use the PhotoImage class:
import tkinter as tk

root = tk.Tk()
root.title("Tk Example")
root.minsize(200, 200)
root.geometry("300x300+50+50")

# Create two labels
tk.Label(root, text="Nothing will work unless you do.").pack()
tk.Label(root, text="- Maya Angelou").pack()

# Display an image
image = tk.PhotoImage(file="025.gif")
tk.Label(root, image=image).pack()

root.mainloop()
Here, we use PhotoImage class to load the image file we want to use. You can pass your own image file to PhotoImage.
Then, we instantiate the Label class with the image argument holding the path to the image we want to display. The PhotoImage class can load GIF, PGM, PPM, and PNG image formats. For other image formats you can use the Pillow library.
Here's how your window will look now:
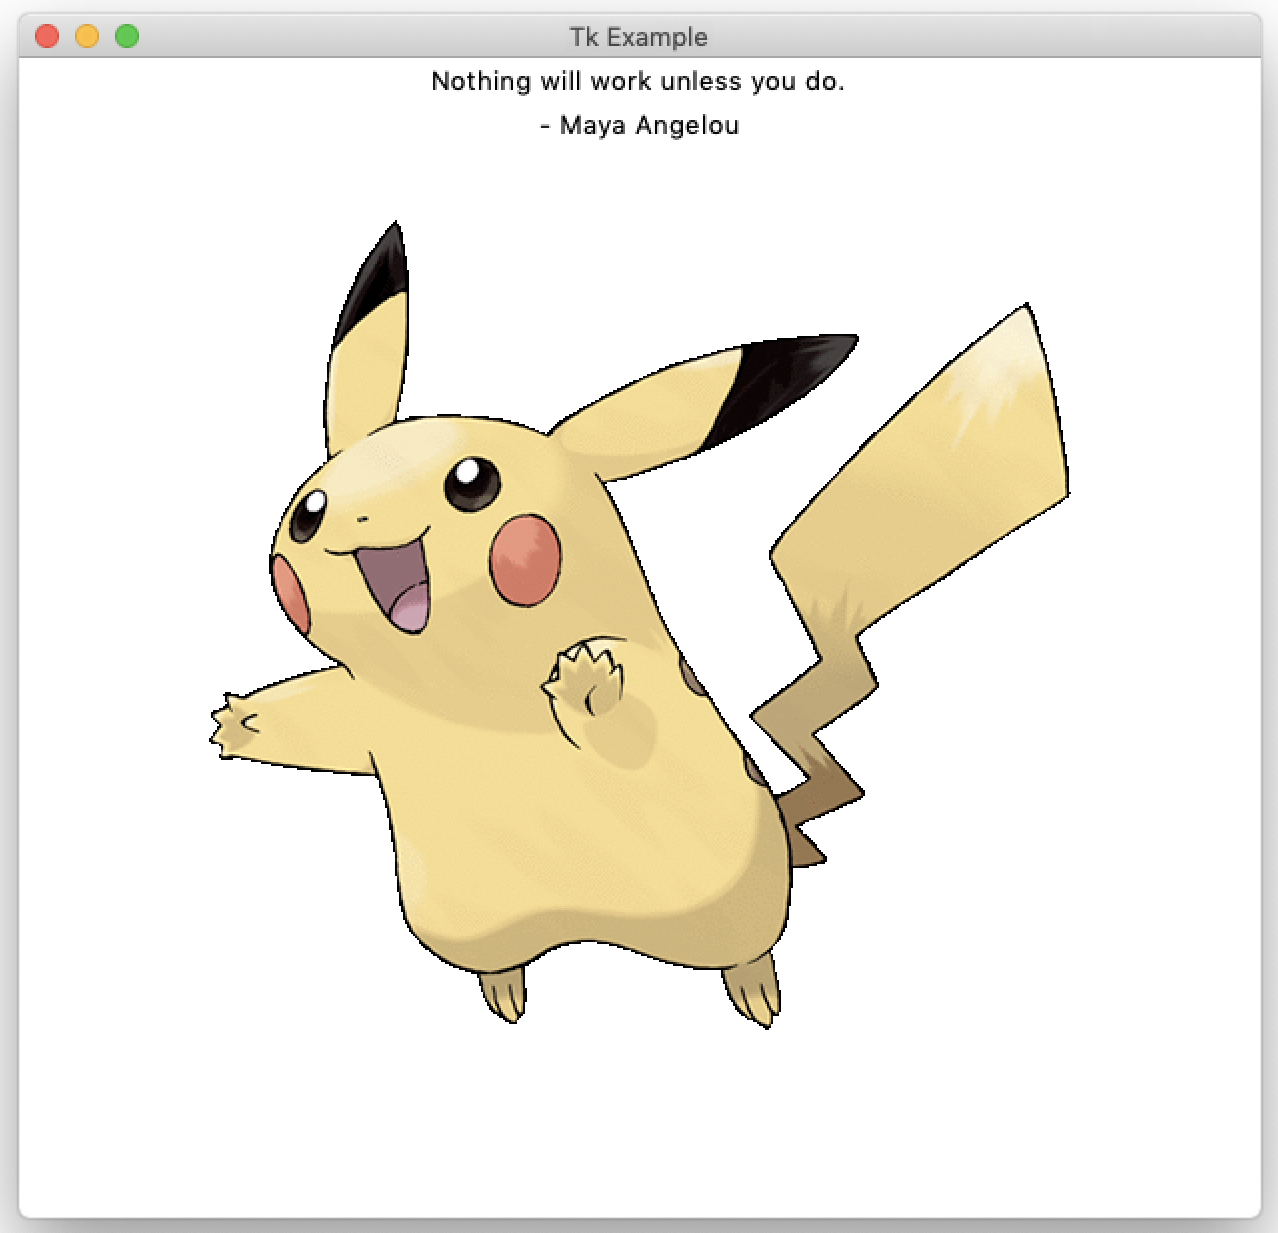 Window with a text and an image.
Summary
In this tutorial, you learned how to create a window and add text and images using the Label widget in Tkinter.
It is important to apply what you learn. Take some time to experiment with the window's geometry or the images and text that can be displayed on labels.