With physical devices we push buttons to directly perform actions. For example, pushing the ON button on the TV remote turns the TV on. The buttons on the elevator? Press the number for the floor to go to that floor. When we press a button we expect something to happen. In graphical user interfaces buttons are used in the same way. Click the X (or red on macOS) button at the top corner of this window, and you will close it.
In this tutorial, we will learn how to make use of buttons in our Tkinter applications using the Button widget. By the end of this tutorial, you will be able to include buttons in your Tkinter GUIs, hook these buttons up to Python functions to make things happen and learn how to customize them to fit your projects.
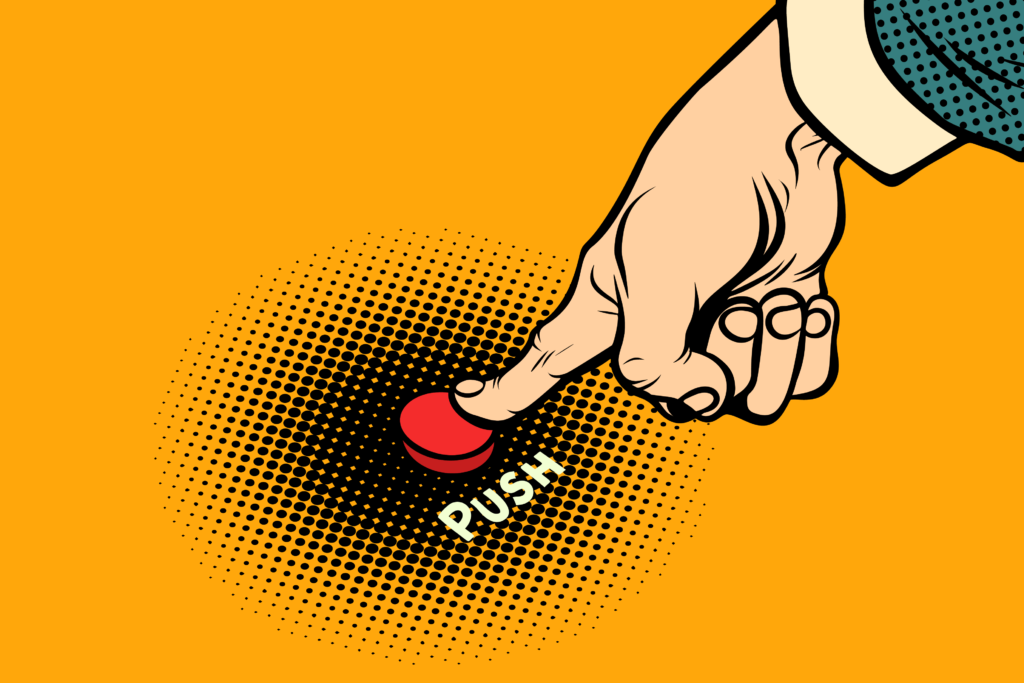 Let's push that button!
You can download the source code for all our articles.
The code for this article is in the folder tkinter/tutorials/create-buttons-in-tkinter
Create Button Widgets in Tkinter
Buttons in Tkinter work as expected: you push a button to perform some action. In Tkinter the actions which buttons perform are handled by Python functions or methods. First let\'s build a simple interface which contains some buttons, and then we can start adding the functionality.
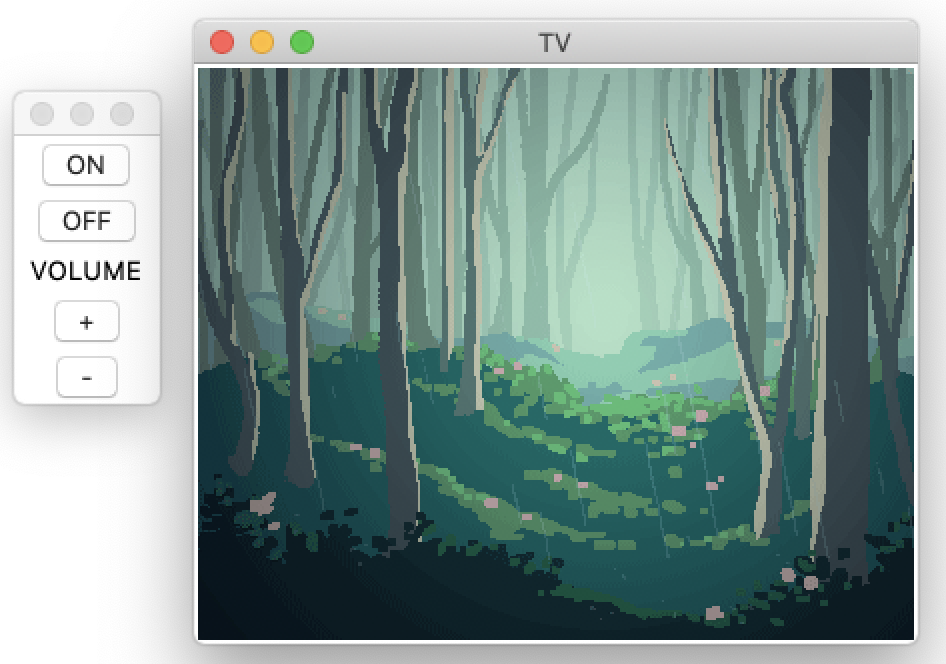
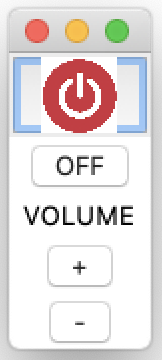
We can use the Button class to create a minimalist TV remote with the following code:
import tkinter as tk

root = tk.Tk()  # Create the main window

# Create a TV remote UI
turn_on = tk.Button(root, text="ON")
turn_on.pack()

turn_off = tk.Button(root, text="OFF", command=root.destroy)
turn_off.pack()

volume = tk.Label(root, text="VOLUME")
volume.pack()

vol_up = tk.Button(root, text="+")
vol_up.pack()

vol_down = tk.Button(root, text="-")
vol_down.pack()

root.mainloop()
In this example, we create four buttons and one label. The order in which we create them in the code is the same order in which they will appear on the window. We make the turn_on button from the Button class.
The first argument is the main window, root, and the second is the text we want to display on the button, which is "ON" for the first button. Then, we use the pack geometry manager to display the button in the root window.
You can check the tutorials on creating the root window and how to create Labels for help with the above code.
We create the turn_off, vol_up, and vol_down buttons in a similar fashion and pack them with pack(). Only one of these buttons, turn_off, does something because we used the keyword command argument to make the button call root.destroy(), which closes the root window immediately:
 TV remote UI
Purchasing Power Parity
Developers in [[ country ]] get [[ discount.discount_pc ]]% OFF on all books & courses with code [[ discount.coupon_code ]] If you are developing your own GUI and have a few buttons that don't yet do anything, then there is also a way to make the button inactive. Just add state=DISABLED as one of the parameters, and the button cannot be clicked.
From here, we will be adding functions to each of our buttons and learning how to alter their appearances.
Make Buttons Do Something When Clicked
Above, we have three buttons that don't do anything yet. Let's begin by creating a function and then set a button to call it:
import tkinter as tk

root = tk.Tk()  # Create the main window

def volume_up():
    print("Volume Increased +1")

# Create the volume up button
vol_up = tk.Button(root, text="+", command=volume_up)
vol_up.pack()

root.mainloop()
The function volume_up() is called whenever the vol_up button is clicked in the window.
Now that we have a basic understanding of how to use the Button widget, the next step is to add more functionality to our TV remote. When the turn_on button is clicked, let's create a window that opens up and displays an image. For vol_down, let's also print out a message to keep things simple for now. The following displays the code, and each button has a command parameter:
import tkinter as tk

root = tk.Tk()
image = tk.PhotoImage(file="rain.gif")

def turn_tv_on():
    window = tk.Toplevel(root)
    window.title("TV")
    original_image = tk.Label(window, image=image)
    original_image.pack()

def volume_up():
    print("Volume Increase +1")

def volume_down():
    print("Volume Decrease -1")

turn_on = tk.Button(root, text="ON", command=turn_tv_on)
turn_on.pack()

turn_off = tk.Button(root, text="OFF", command=root.destroy)
turn_off.pack()

volume = tk.Label(root, text="VOLUME")
volume.pack()

vol_up = tk.Button(root, text="+", command=volume_up)
vol_up.pack()

vol_down = tk.Button(root, text="-", command=volume_down)
vol_down.pack()

root.mainloop()
Now, we have two functions to control the volume and one to turn the TV on. The next step is to pass the appropriate function to the command argument of our buttons. Here's what happens when we click the ON button:
 Turning the TV window "on" with the click of a button
When the volume buttons are clicked, the following will display as output in the terminal:
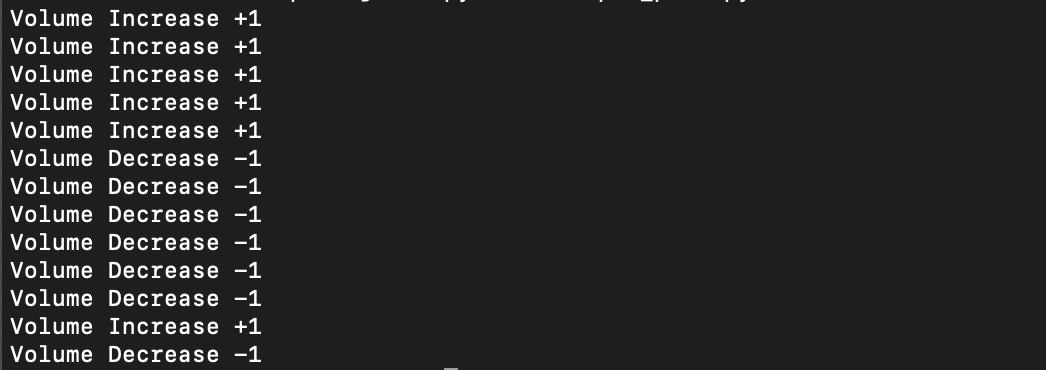 Changing the volume with our buttons - terminal output
This trick can be very useful for testing whether your buttons are working properly or for getting feedback from the function calls.
Explore Other Button Parameters
The Button class also has some other options. Let's look at some of the more commonly used ones. Many of these parameters can help you create buttons that look nice or fit well into the style of our GUIs.
The tkinter.ttk module provides themed versions of Tkinter basic widgets. If you are interested, then check out the module's documentation.
Here are some of the most common parameters used to create buttons:
activebackgroundandactiveforegroundset the background and foreground colors when the cursor is over the button.bdsets the border width of a button in pixels.bgandfg: sets the background and foreground colors.fontdefines the text font to use for the button.heightandwidthset the height and width of a button.imagedisplays an image on the button rather than or along with text.
Display an Image on a Button
Let's finish by showing how to add an image to a button. Modifying the code for the "ON" button from above, the following code will display an image on the button rather than text.
photo = tk.PhotoImage(file="on-button.gif")
photo = photo.subsample(10, 10)
turn_on = tk.Button(root, image=photo, command=turn_tv_on)
turn_on.pack()
Here, we load the image using PhotoImage. Then, we resize the image using the subsample() method. Finally, we remove the text="ON" parameter from earlier and add image=photo.
Here's how our GUI will look like:
 ON button with an image
Summary
In this tutorial you have learned how to create buttons in Tkinter applications. You've added these buttons to your UI and then hooked them up to handler methods to make things happen. You have also learned how to customize the appearance of the buttons by adding images. You will now be able to add functional buttons to your own applications.
PyQt/PySide Office Hours 1:1 with Martin Fitzpatrick — Save yourself time and frustration. Get one on one help with your projects. Bring issues, bugs and questions about usability to architecture and maintainability, and leave with solutions.