Before you start the PySide6 tutorial you will need to have a working installation of PySide6 on your system. If you don't have either set up yet, the following steps will guide you through how to do this on macOS.
This guide is also available for Linux and Windows.
Install PySide6 on macOS with pip
If you already have a working installation of Python 3 on macOS, you can go ahead and install PySide6 as for any other Python package using pip.
On macOS it's recommended to install PySide6 into a virtual environment:
python3 -m venv .venv
source .venv/bin/activate
python -m pip install -U pip
python -m pip install pyside6
If you don't have an installation of Python 3, you will need to install one first. You can download macOS installers for Python 3 from the Python homepage. Once installed, you should be able to use the commands above to install PySide6.
Install Python on macOS using Homebrew
Another alternative is to use Homebrew. Homebrew is a package manager for command-line software on macOS. Homebrew provides Python, but it does not provide a pyside6 formula (so brew install pyside6 will fail with "No available formula").
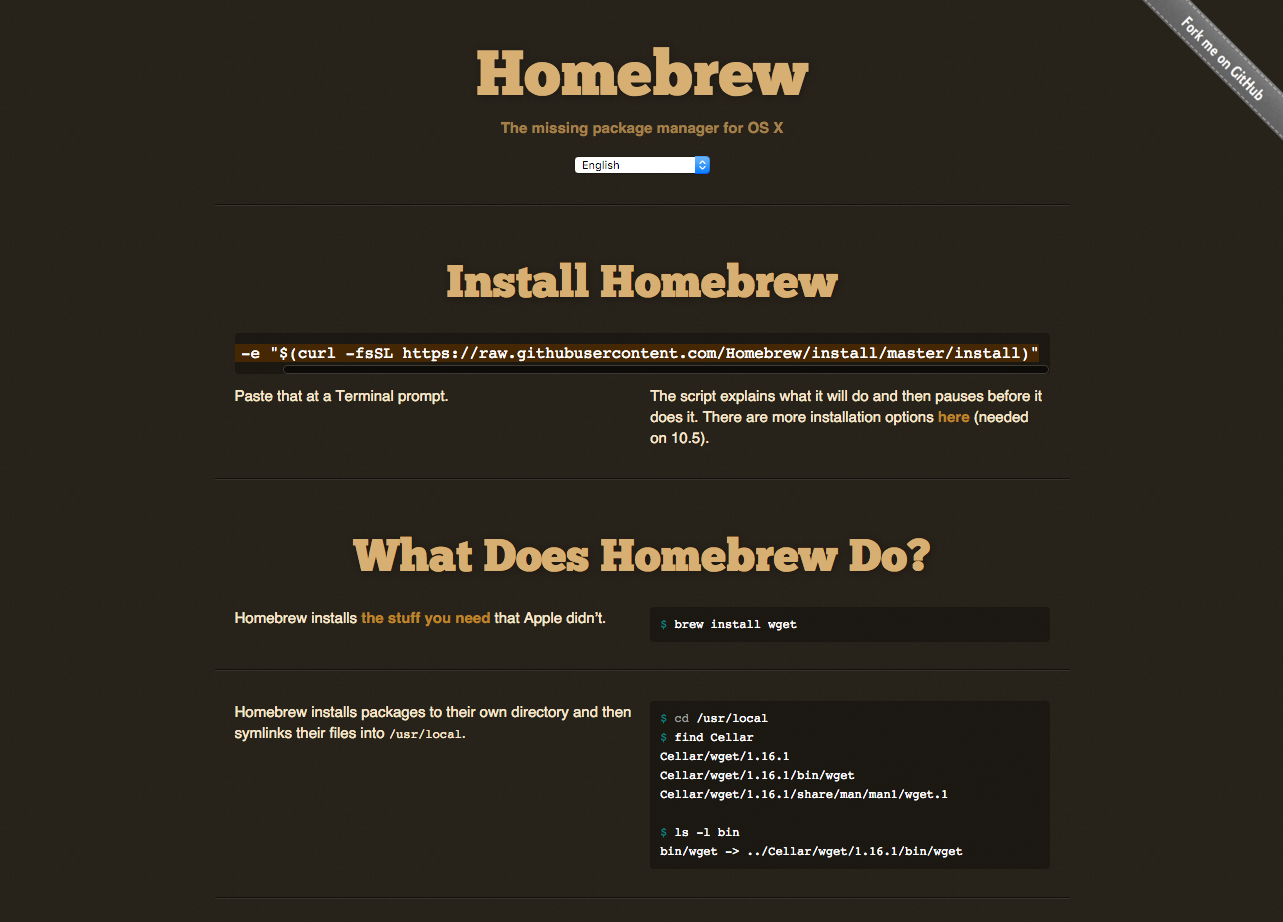 Homebrew -- the missing package manager for macOS
To install Homebrew run the following from the command line --
/bin/bash -c "$(curl -fsSL https://raw.githubusercontent.com/Homebrew/install/HEAD/install.sh)"
This is also available to copy and paste from the Homebrew homepage.
Purchasing Power Parity
Developers in [[ country ]] get [[ discount.discount_pc ]]% OFF on all books & courses with code [[ discount.coupon_code ]]Once Homebrew is installed you can then install Python with --
brew install python
With Python installed, install PySide6 using pip (preferably in a virtual environment as shown above):
python3 -m pip install pyside6
Verify your PySide6 installation
To confirm that PySide6 is installed correctly, open a terminal and run the following command:
python3 -c "import PySide6; print(PySide6.__version__)"
If PySide6 is installed successfully, this will print the version number. You're now ready to start building Python GUI applications with PySide6 on macOS.
Packaging Python Applications with PyInstaller by Martin Fitzpatrick — This step-by-step guide walks you through packaging your own Python applications from simple examples to complete installers and signed executables.
