When writing GUI applications you often need to accept data from users. A reliable application must verify and validate all its input data before taking any further action or doing any processing. Input validation is the process of examining the data your users provide to your applications to ensure its validity.
In this tutorial, we'll look at some examples of common input data validation strategies you can use when developing GUI applicatipons with the Tkinter UI library.
You can download the source code for all our articles.
The code for this article is in the folder tkinter/tutorials/input-validation-tkinter
Input Validation Strategies in GUI Apps
Input data validation is commonly needed in dialog windows where we provide input widgets for the user to enter information that our program requires to work properly. When validating input data in a dialog or any other component of our app's GUI, there are two main approaches we can take:
- Real-time validation: This strategy is also called widget-level validation and involves validating the user's input as soon as they enter it in the app's GUI.
- Batch validation: This strategy is also known as form-level validation and involves validating all input fields at once, usually when the user clicks the submit button on a dialog.
Real-time validation works best in situations where input data is continuously entered and needs to be verified quickly. For example, when we're using a table widget to update a table in a database in real time.
Batch validation is suitable when there are interdependencies between different pieces of input. In this case, the input data needs to be validated all at once. A good example of this type of validation is a login form which typically verifies the user and the password at once when we click the Login button.
In the following sections, you'll learn how to implement these two validation strategies in a Tkinter application.
Form-Level Input Validation in Tkinter
Tkinter is a popular GUI library in Python. It provides a basic set of widgets that you can use for building GUI applications quickly. The library comes with a few widgets for data entry, including Entry, Text, Spinbox, and others.
To demonstrate the form-level validation strategy, we'll use the Entry widget, which presents a simple text box to the user. For this example, we'll create a form with an Entry and a Button. The Entry widget will only accept numeric values. We'll run the input data validation when the user clicks on the button to submit the information for processing.
Below is the starter code for our small Tkinter app:
Create GUI Applications with Python & Qt6 by Martin Fitzpatrick — (PyQt6 Edition) The hands-on guide to making apps with Python — Save time and build better with this book. Over 15K copies sold.
from tkinter import Tk, ttk

# Create the app's main window
root = Tk()
root.title("Form-Level Input Validation")
root.geometry("490x100")

# Add widgets
entry = ttk.Entry(root, width=35)
entry.grid(row=0, column=0, padx=5, pady=5)
button = ttk.Button(root, text="Validate", command=validate_numbers)
button.grid(row=0, column=1, padx=5, pady=5)
label = ttk.Label(root, text="Display")
label.grid(row=1, column=0, columnspan=2, padx=5, pady=5)

# Run the app's main loop
root.mainloop()
In the first line of the code, we import Tk and ttk from the tkinter package. Tk is Tkinter's main GUI class which provides the application window and main loop. The ttk module provides styled widgets for you to create modern Tkinter apps.
Next, we create the parent window, root, by instantiating the Tk class. The window will have a title and a geometry (shape), which we set using the title() and geometry() methods.
Then, we create three different widgets: an entry, a label, and a button using the ttk.Entry, ttk.Label and ttk.Button classes, respectively.
To create the Entry widget, we use the parent window, root, and width as arguments. To place the entry widget in the parent window, we use the grid() geometry manager. This lays widgets out in a grid, at the specified row and column positions, with padx and pady (horizontal and vertical padding) in pixels.
Then we create a button using the ttk.Button class with the parent window and text as arguments. Again, we use grid() to place the button on the parent window, on the same row as the Entry but now in column 1.
Finally, we create a ttk.Label widget using a parent window and text as arguments. Using the grid() method, we place this on the next row in column 0, using colspan=2 to stretch it across two columns.
With our application complete, we run it by calling mainloop() on root. You'll get the following output:
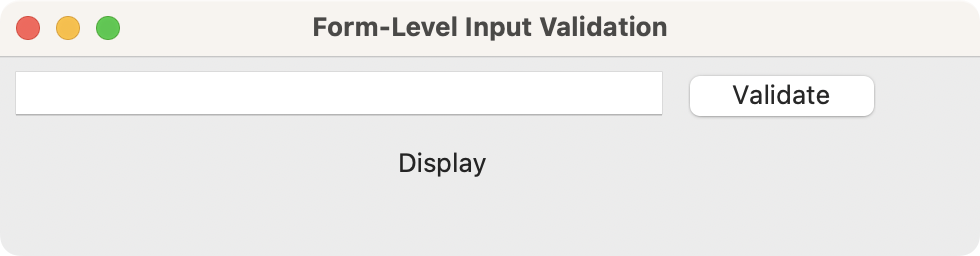 An example Tkinter application with Entry, Button, and Label widgets
Great! We have a working Tkinter app with a simple form.
Let's jump into input validation. So far, the button doesn't do anything when we click it. We want the button to run code for validating the data provided through the entry widget. Let's create a function for validating numeric values:
from tkinter import Tk, ttk

# Create the app's main window
root = Tk()
root.title("Form-Level Input Validation")
root.geometry("490x100")

# Create a validation function
def validate_numbers():
    input_data = entry.get()
    if input_data:
        try:
            float(input_data)
            label.config(
                text=f"Valid numeric value: {input_data}",
                foreground="green",
            )
        except ValueError:
            label.config(
                text=f'Numeric value expected, got "{input_data}"',
                foreground="red",
            )
    else:
        label.config(
            text="Entry is empty",
            foreground="red",
        )

# ...
Here we have implemented a validate_numbers() function to test if the user's input is a valid number. Inside the function, we get the input data from the entry widget using the get() method, storing it in the variable input_data.
First, we use an if statement to check whether input_data contains anything at all. If input_data is an empty string, which is falsey, the else clause will change the label's text to "Entry is empty" in red.
If input_data contains some text, we further validate this by attempting to cast the value to a float using the built-in float() type. If the value is not a valid float, the code will throw a ValueError exception. If this occurs, we catch this exception and display an informative message in red.
Finally, in the case where input_data contains something which is a valid numeric value, a success message will be shown in green.
Now that we have implemented our validation function, we can bind it to our button by passing it as the command argument. Update the Button instantiation as follows:
# Add widgets
# ...
button = ttk.Button(root, text="Validate", command=validate_numbers)
# ...
Here, the command argument points to the function that we want to trigger when the button is clicked. If you run the program again and enter valid numbers, you'll get an output similar to the following when clicking the Validate button:
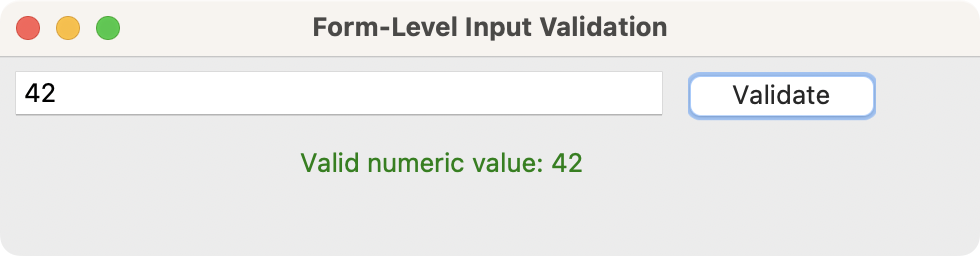 Entry box with a valid number, showing the success message
Great, the app validated the input successfully! What will happen if we provide an invalid input? Check out the form below:
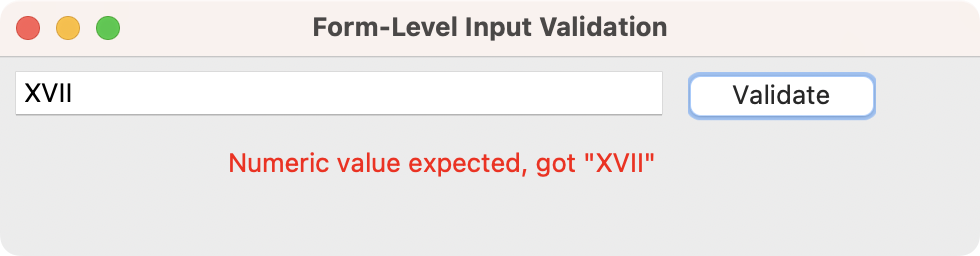 Entry box with an invalid number, showing the failure message
Great! Everything works! If you enter something which is not a number, your app will now correctly identify the invalid input.
Widget-Level Input Validation in Tkinter
With the widget-level validation strategy, we validate the input data using widget-specific events. For example, an input validation function can run when an entry widget gets or loses focus. This approach comes in handy when we want to validate input data in real time, widget by widget.
To see this strategy in action, let's create a window with two entry widgets. The code for that is as follows:
from tkinter import Tk, ttk

# Create the app's main window
root = Tk()
root.title("Widget-Level Validation")
root.geometry("490x120")

# Add widgets
name_label = ttk.Label(root, text="Name:")
name_label.grid(row=0, column=0, padx=5, pady=5)
name_entry = ttk.Entry(root, width=35)
name_entry.grid(row=0, column=1, padx=5, pady=5)
age_label = ttk.Label(root, text="Age:")
age_label.grid(row=1, column=0, padx=5, pady=5)
age_entry = ttk.Entry(root, width=35)
age_entry.grid(row=1, column=1, padx=5, pady=5)
label = ttk.Label(root, text="Display")
label.grid(row=2, column=0, columnspan=2, padx=5, pady=5)

# Run the app's main loop
root.mainloop()
In this example, we are creating a window with two entry widgets and a label for displaying a message after the validation process.
If you run this example, you'll get the following window:
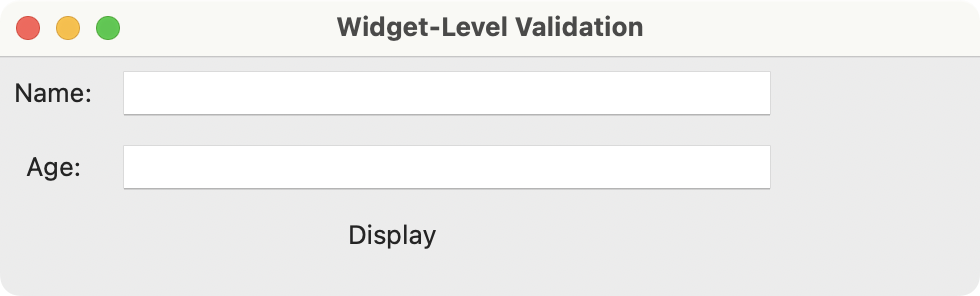 Window showing two Entry boxes with a validation message
In this next example, we'll validate the age input when the user moves the focus out of the age entry. First, let's create the function for validating input:
from tkinter import Tk, ttk

# Create the app's main window
root = Tk()
root.title("Widget-Level Validation")
root.geometry("490x120")


# Create a validation function
def validate_age():
    age = age_entry.get()
    if age:
        if age.isdigit() and int(age) in range(1, 151):
            label.config(
                text=f"Valid age: {age}",
                foreground="green",
            )
            return True
        else:
            label.config(
                text="Age must be a number between 1 and 150",
                foreground="red",
            )
            return False
    else:
        label.config(
            text="Entry is empty",
            foreground="red",
        )
        return False

# ...
The validate_age() function gets the input using the get() method, storing the value in the variable age.
We again use an if statement to check whether the input value is empty or not. If the entry is empty, the else clause runs, showing the failure message.
If the user has provided a value, then we validate the input data using the isdigit() method and the built-in range() function.
It's important to note that functions used for widget-level validation must be predicate functions, returning either True or False.
Finally, we need to bind this function to the entry widget which input we want to validate. To do this, we need to pass two new arguments to the Entry() constructor:
# Add widgets
# ...
age_entry = ttk.Entry(
    root,
    width=35,
    validatecommand=validate_age,
    validate="focusout"
)
# ...
The validatecommand argument specifies the function to be called for input validation, and the validate command specifies on which event this function should be called. In this example, we have used "focusout". However, the validate argument can take any of the following values:
"focus"triggers the validation whenever the widget receives or loses focus."focusin"triggers the validation whenever the widget receives focus."focusout"triggers the validation whenever the widget loses focus."key"triggers the validation whenever any keystroke changes the widget's content."all"triggers the validation in all the above situations."none"turns the validation off.
Go ahead and run your program. Enter a name and play with different input values for the age. After entering the age value, move the focus to the name entry to trigger the validation. Here's how the app works with a valid age:
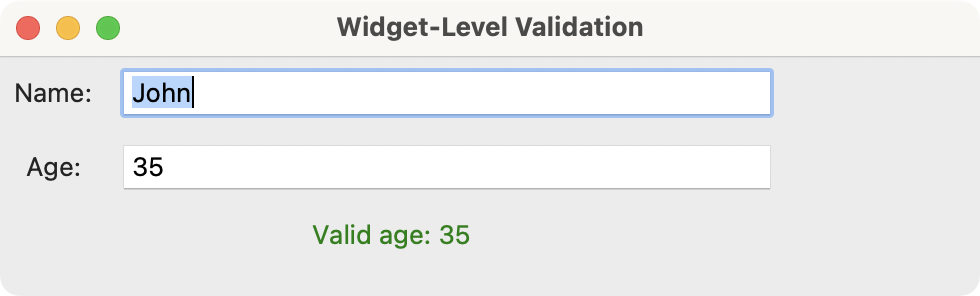 Window showing validation of a valid age
When you move the focus to the Name entry, the age entry triggers the age validation function. Now let's try an invalid age:
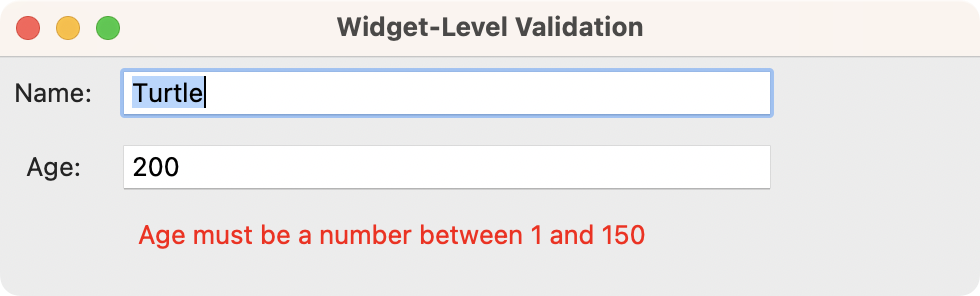 Window showing validation of an invalid age
The validation works as expected! Whenever you enter an invalid age value and move the focus out of the age entry, you get an error message pointing out the problem. That's great!
Conclusion
In this tutorial, you've learned about input validation in GUI applications. You now know how to validate user input in Tkinter using two different validation strategies: form-level validation and widget-level validation.
You can now apply these two strategies to validate user input in your own applications.