Streamlit is a popular choice for creating interactive web applications in Python. With its simple syntax and intuitive interface, developers can quickly create visually appealing dashboards.
One of the great things about Streamlit is its ability to easily handle user interaction, and dynamically update the UI in response. One of the main way for users to trigger actions in UIs is through the use of buttons. In Streamlit, the st.button() method creates a button that users can click to perform an action. Each button can be associated with a different action.
In this tutorial we'll look at how you can use buttons to add interactivity to your Streamlit apps.
Creating Buttons in Streamlit
To create a button in Streamlit, you use the st.button() function, which takes an optional label as an argument. When the button is clicked, it returns True, which you can use to control subsequent actions.
Basic Button Syntax
Here's a simple example of a button in Streamlit:
import streamlit as st

if st.button('Click Me'):
    st.write("Button clicked!")
 Simple Streamlit app with a single button
The st.button('Click Me') creates a button labeled Click Me. When the button is clicked, it returns True and the if evaluates to true running the nested code underneath -- displaying the message "Button clicked!"
This basic structure is the foundation of working with buttons in Streamlit. Through this simple mechanism you can build quite complex interactivity.
Multiple Buttons for Different Actions
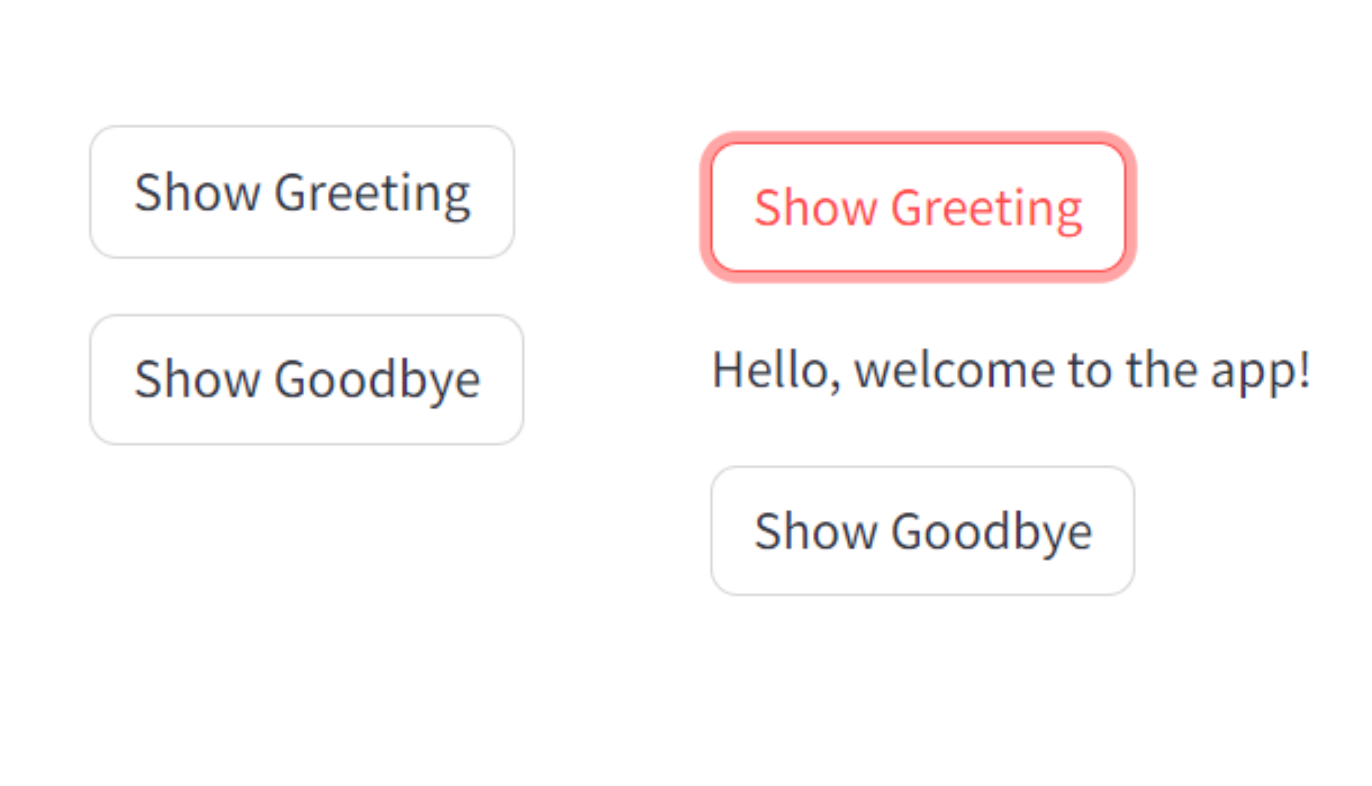
Building on the basic button structure, you can create multiple buttons within your Streamlit app, each associated with different actions. For instance, let's create buttons that display different messages based on which is clicked.
import streamlit as st

if st.button('Show Greeting'):
    st.write("Hello, welcome to the app!")

if st.button('Show Goodbye'):
    st.write("Goodbye! See you soon.")
 Simple Streamlit app with two buttons
Packaging Python Applications with PyInstaller by Martin Fitzpatrick — This step-by-step guide walks you through packaging your own Python applications from simple examples to complete installers and signed executables.
Each button is wrapped in a conditional statement. When a button is pressed, the corresponding action is executed. Depending on the button pressed, different messages are displayed, providing immediate feedback to the user.
This structure is versatile and can be expanded to include more buttons and actions.
Displaying Dynamic Content Based on Button Clicks
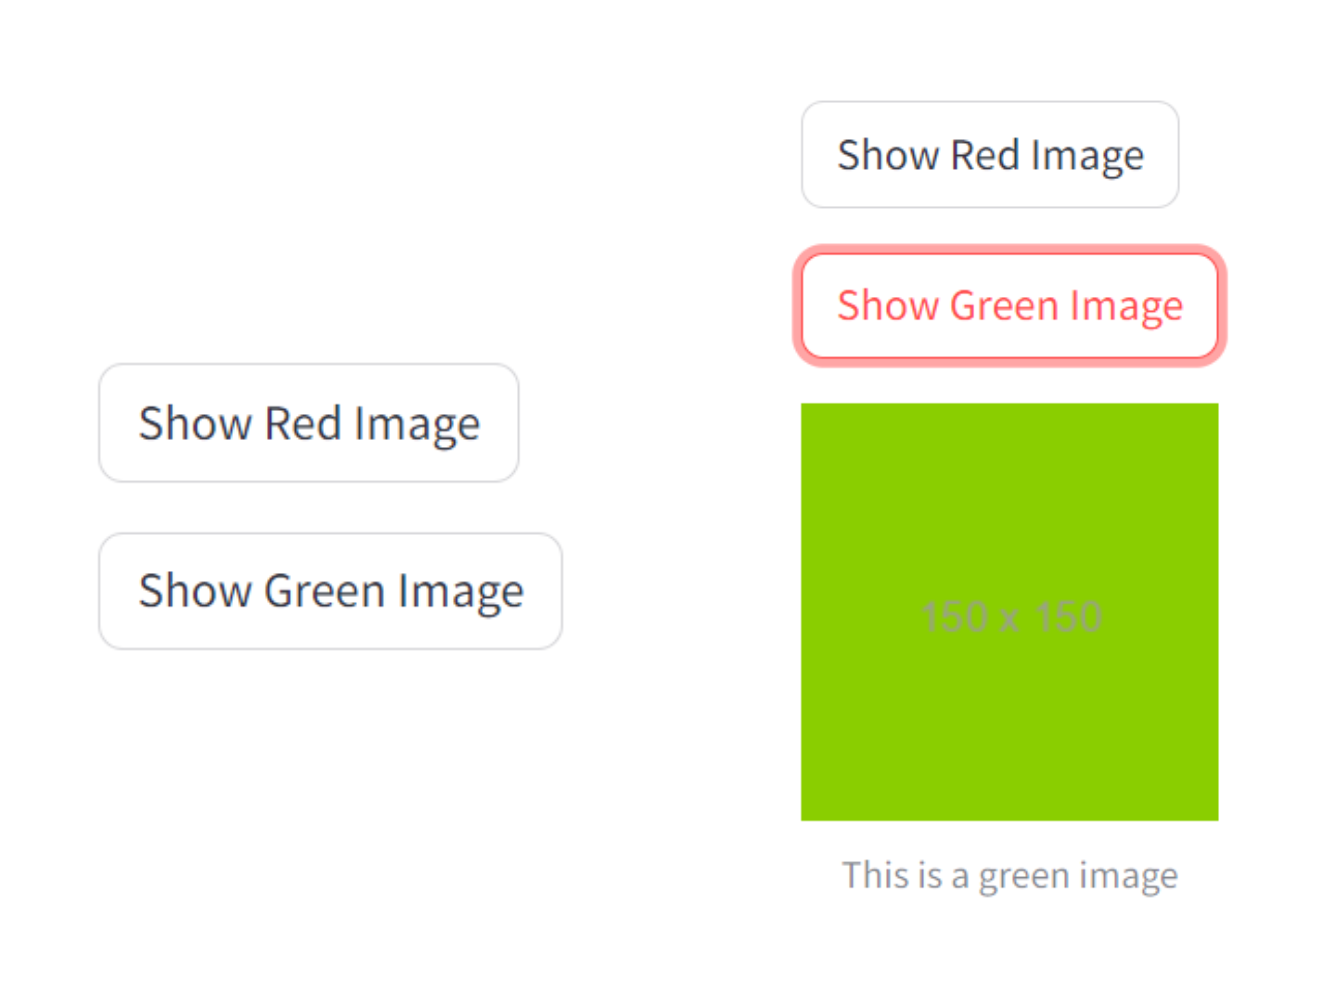
Buttons can be used to display all types of content dynamically, including text, images, and charts. For example, below is a similar example but displaying images.
import streamlit as st

img_url_1 = "https://placehold.co/150/FF0000"
img_url_2 = "https://placehold.co/150/8ACE00"

if st.button('Show Red Image'):
    st.image(img_url_1, caption="This is a red image")

if st.button('Show Green Image'):
    st.image(img_url_2, caption="This is a green image")
 Simple Streamlit app with two buttons showing images
When the Show Red Image button is pressed, a red image is displayed. The same goes for the Show Green Image button. This setup allows users to switch between different images based on their preferences.
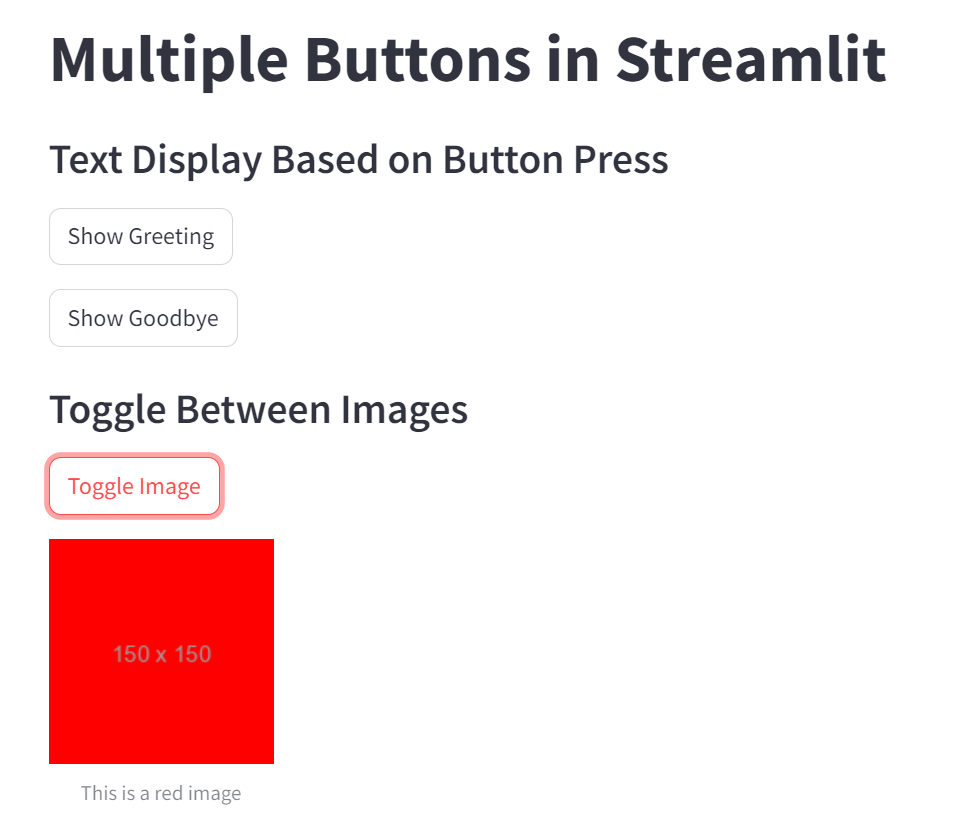
Note that the state isn't persisted between each interaction. When you click on the "Show Red Image" the green image will disappear, and vice versa. This isn't a toggle but a natural consequence of how Streamlit works: the code of the script is executed on each interaction, so only one button can be in a "clicked" state at any time.
To persist state between runs of the script, you can use Streamlit's state management features. We'll cover this in a future tutorial.
Dynamic Forms Based on Button Press
Dynamic forms allow users to provide input in a structured way, which can vary based on user actions. This is particularly useful for collecting information without overwhelming users with multiple fields.
Here's a quick example where users can input their name and age based on button presses:
import streamlit as st

# Title
st.title("Dynamic Forms Based on Button Press")

# Name Input Field
if st.button('Enter Name'):
    name = st.text_input('What is your name?')
    if name:
        st.write(f"Hello, {name}\!")

# Age Input Field

if st.button('Enter Age'):
    age = st.number_input('What is your age?', min_value=1, max_value=120)
    if age:
        st.write(f"Your age is {age}.")
The button Enter Name triggers a text input field when clicked, allowing users to enter their names. The button Enter Age displays a number input field for users to enter their age. The app provides immediate feedback based on user input.
Handling Form Submission
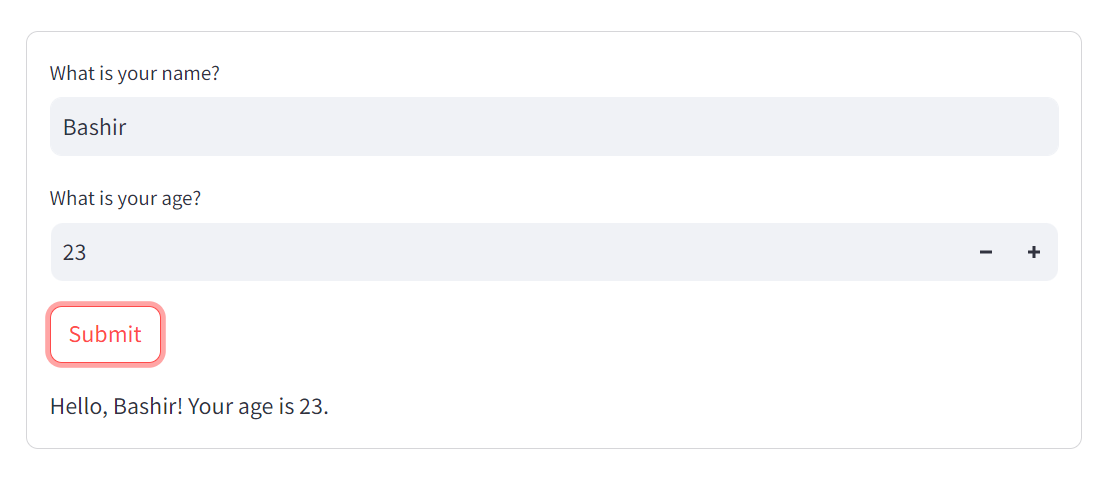
For more complex collections of inputs that you want to work together, consider using st.form() to group inputs, allowing users to submit all inputs at once:
import streamlit as st

# Title
st.title("Dynamic Forms Based on Button Press")

with st.form("my_form"):
    name = st.text_input('What is your name?')
    age = st.number_input('What is your age?', min_value=1, max_value=120)
    submitted = st.form_submit_button("Submit")

    if submitted:
        st.write(f"Hello, {name}\! Your age is {age}.")
 Streamlit form with submit button
Conclusion
In this tutorial, we explored how to make things happen in Streamlit using buttons. We learned how to create multiple buttons and display dynamic content based on user interaction.
Now that you have a basic understanding of buttons in Streamlit, you can add basic interaction to your Streamlit applications.
Comprehensive code review • Bugfixes & improvements • Maintainability advice and architecture improvements • Design and usability assessment • Suggestions and tips to expand your knowledge • Packaging and distribution help for Windows, Mac & Linux • Find out more.
